I’ve never been the traditional type. So when it comes to planning my wedding, I tend to lean towards choices that are more modern or unique.
One of the traditions I knew I definitely didn’t want to participate in was “Brides Side” and “Grooms Side” ceremony seating.
Why make people choose a side?
Why segregate our guests during a time where we are celebrating becoming one?
While I’ve come across so many ideas online, I decided to merge a few ideas together and make my own wedding ceremony seating sign.
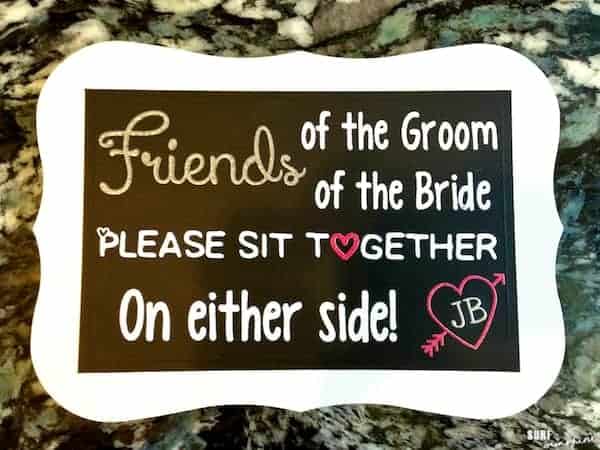
I came up with this idea by blending together the new trend for chalkboard wedding signs, the “pick a seat, not a side” mentality and the need for something that would pack and travel well to a destination wedding.
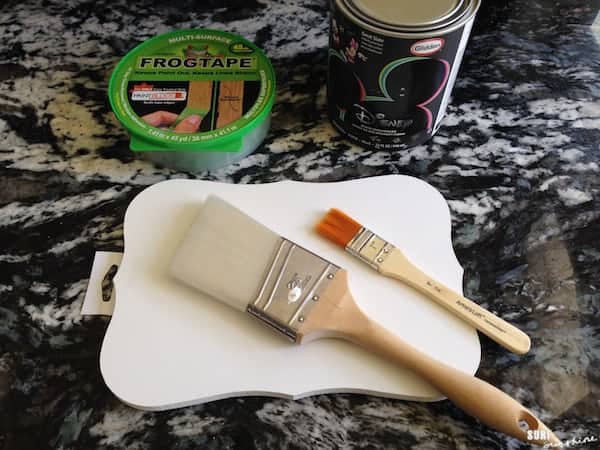
DIY Wedding Ceremony Seating Sign
Supplies
- Choice of board/plaque (The one I chose is 10×7 and came pre-painted from Michaels. You can get these from Amazon unpainted for super cheap!)
- Your favorite chalkboard paint
- painters tape
- Soft paint brushes (For a smoother finish I recommend sponge brushes)
- Your favorite Craft Cutter Machine (I have the old school Silhouette SD)
- Double sided-adhesive paper
- Embossing powder
- Hand held Heating tool
- Craft tools (hook, tweezers, scissors, scraper, etc)
Step by Step Instructions
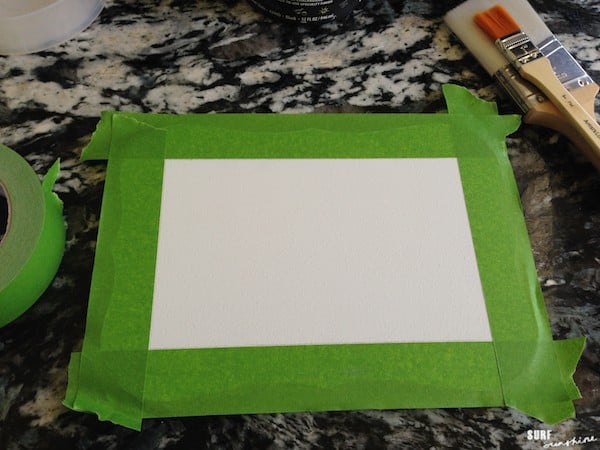
I could have just painted the entire surface with my chalkboard paint, but I thought it would like nicer with a white border.
I used a ruler to mark off my border lines and used the painter’s tape to cover the area I didn’t want to get paint on.
TIP: I’ve used plain masking tape in the past and I strongly discourage this because you don’t want to run the risk of the paint bleeding.
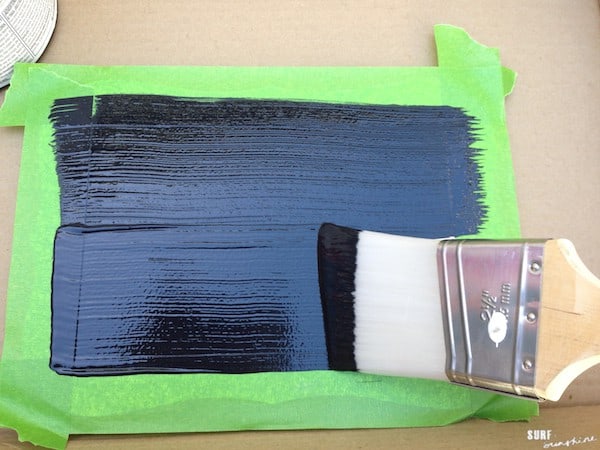
Paint on the chalkboard paint.
If someone hadn’t misplaced my entire box of brushes, I would have used a sponge brush in order to get the finish as smooth as possible, but instead I borrowed the softest brush possible from my wonderful neighbor and just made do.
TIP: The instructions said to wait 4 hours in between coats, but I did this on a sunny day and I placed the board in the sun to dry for about 15 minutes in between coats and it worked just fine. I painted on 2 coats.
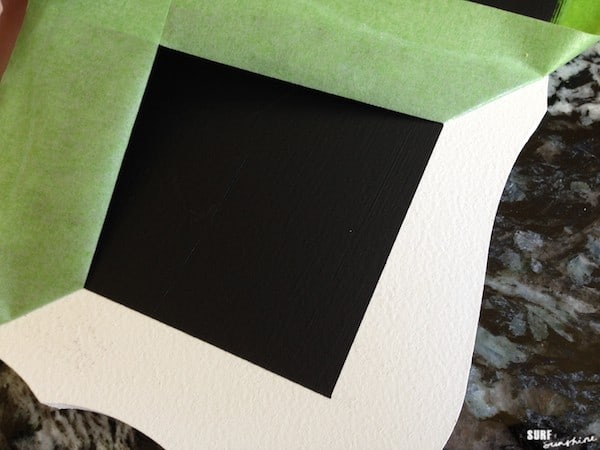
15 minutes after the second coat, I peeled off the FrogTape®. LOVE this stuff! As you can see, perfectly crisp, clean lines with no bleed!
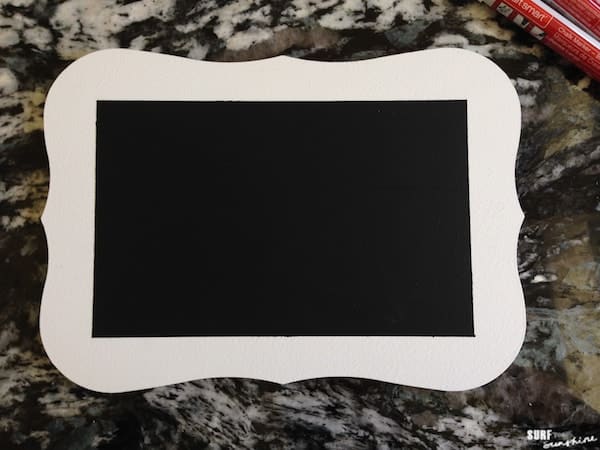
With my “chalkboard” sign finished, I turned to creating the lettering.
I’m going to pause here and say that there are really several paths you can choose to take from here.
If you have great handwriting or artistic ability, you could simply go at it with some chalk or a chalk marker.
I don’t. So my first idea was to use my Silhouette to create a vinyl stencil that I could then use a chalk marker to make the perfect lettering…
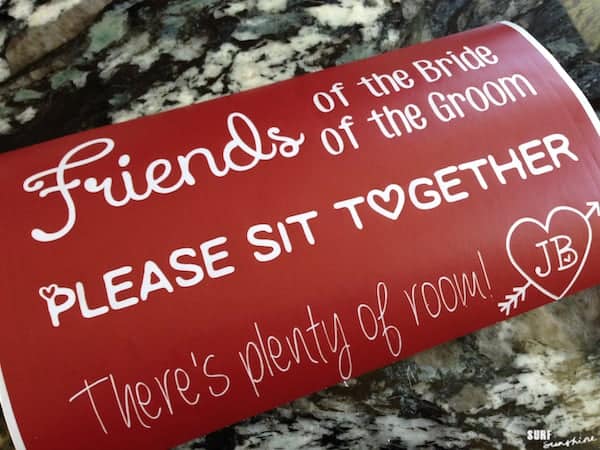
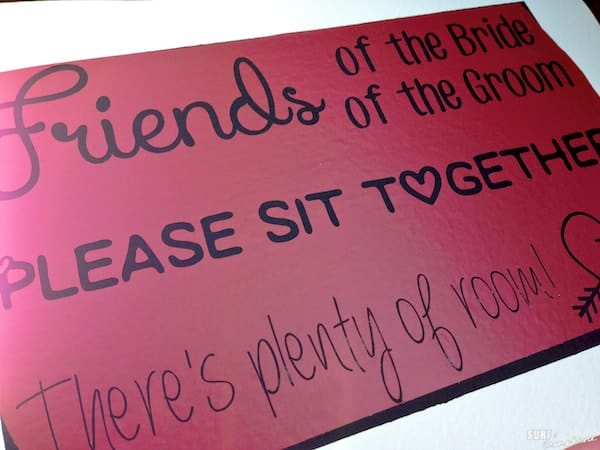
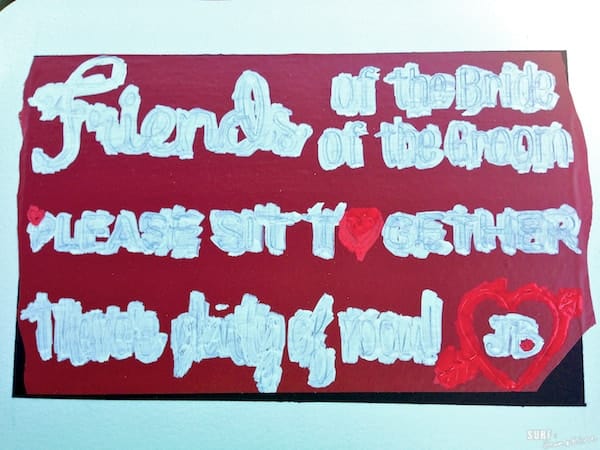
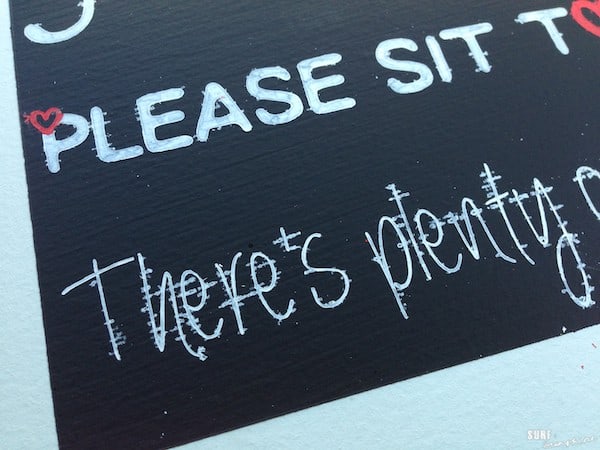
YUCK!!!
As you can see, the end result had some bleeding, mostly due to the fact that the blackboard surface had deep brush marks/grooves.
I also discovered that the chalk pen smudged and flaked and this would NOT be a good option for packing into a suitcase.
NOTE: I did try this method on black card stock paper and the lettering came out beautifully. If you really want to get as close to real chalk on blackboard as possible, you could definitely use this method on a pre-purchased chalkboard that had a smooth surface, instead of using chalkboard paint!
You could use vinyl lettering
This option is similar to the above except it eliminates smudge issues. Simply cut your design from white or even frosted vinyl and attach. This method is pretty quick and painless and yields clean, perfect results.
You could get creative
What I really wanted were results that would give me a look that was close to chalk, but still be more on the permanent side so I could travel with it and not worry about smudging.
So I tried something I’ve never tried before.
I created embossed lettering on the chalkboard surface and it turned out beautifully!
WARNING: this is a time consuming and tedious project if you choose to go this route. You could make it quite a bit easier on yourself by using a cursive or connecting font for the entire sign. This will greatly reduce the time it takes you to peel the paper.
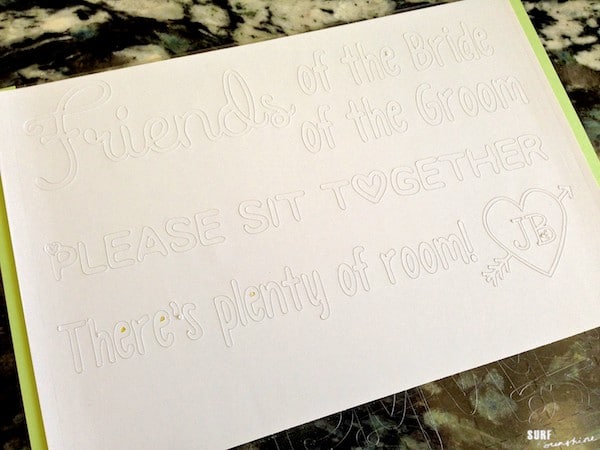
I decided on the saying “Friends of the Bride, Friends of the Groom, Please sit together, There’s plenty of room!” and added our initials in a heart.
Using double sided adhesive paper, I cut the design onto a sheet and then started removing the negative or trash paper making sure the lettering stayed behind on the cutting mat.
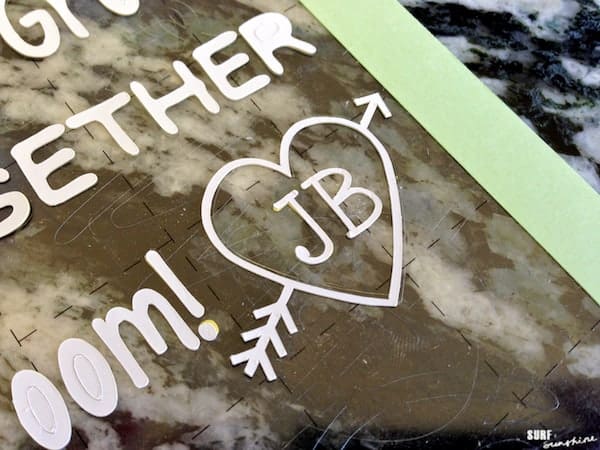
This took me FOREVER and it really helped to use my hook tool to keep the letters on the mat as I pulled away the surrounding paper.
At this point, I’ll admit I felt defeated. So I quit….er…greatly reduced the amount of lettering I would actually emboss.
I decided I was only going to emboss our initial heart onto the corner and go back and do the rest in white vinyl.
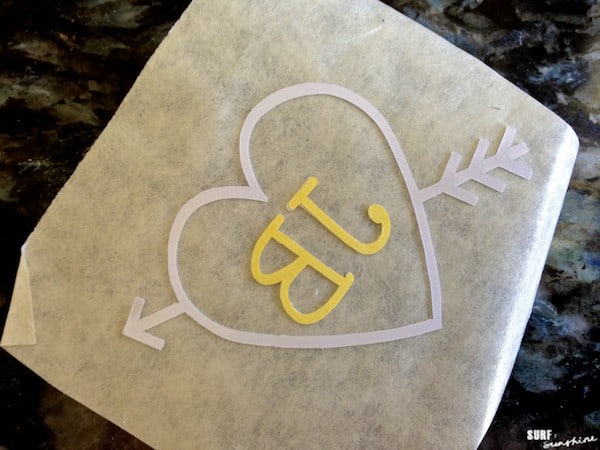 After pulling the heart and initials off the mat using transfer paper, I carefully peeled the yellow paper from the heart part of the design only (because I wanted the heart to be red and the letters to be white).
It was this stage that confirmed my decision to do the rest in vinyl and also made me realize that my eyes are beginning to fail me in my old age. It was frustrating to say the least to get only the yellow paper to peel off and not the sticky middle adhesive layer.
*TIP* Using tweezers really helped here.
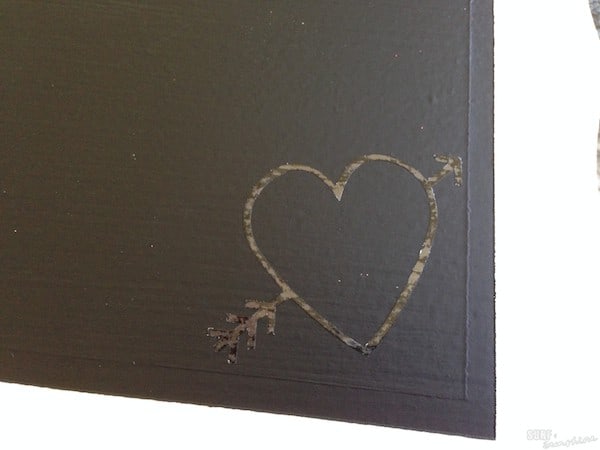 Press firmly onto the board and pull up to remove the white paper leaving behind only the cut “adhesive”- which is basically just double sided sticky paper.
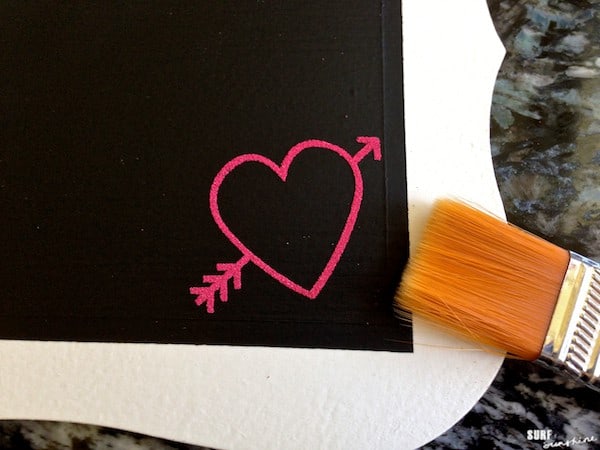
Sprinkle on embossing powder and very carefully, gently, lightly brush away any excess powder.
NOTE: The more you brush away, the more “chalky” or imperfect the embossing will turn out.
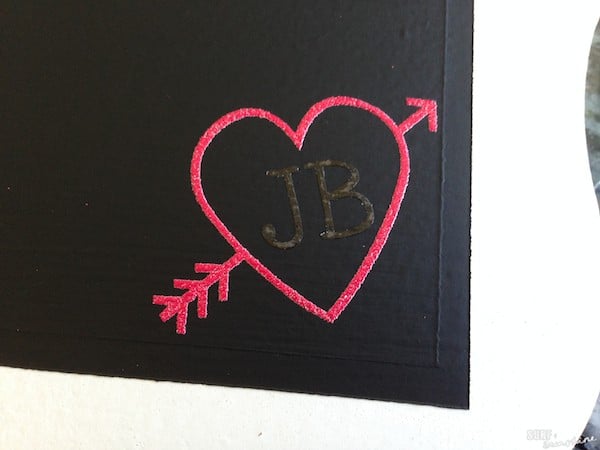
Use your heating tool to set the powder until it bubbles up and melts.
I then went back and applied our initials and covered in silver embossing powder.
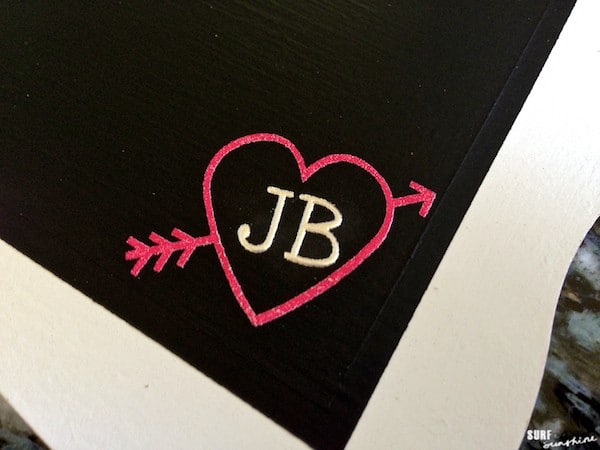
Tada! Now it was at this point that I realized I loved this look so much that I would in no way be happy with having the rest be in vinyl lettering.
GAH.
I just sucked it up and knew I had to commit to doing the entire sign this way, so away I went.
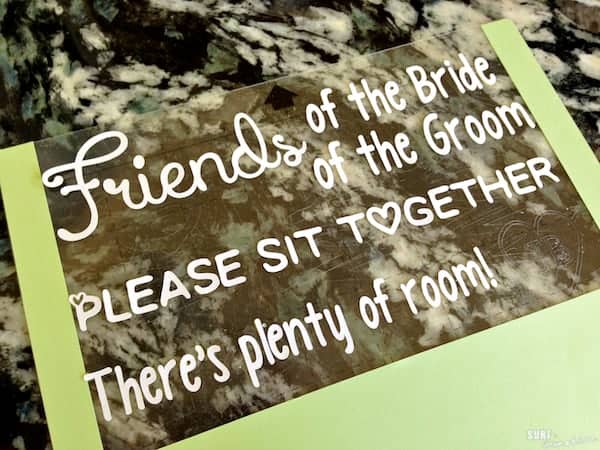
After cleaning up the rest of the excess paper, I decided I wanted “Friends” to be in a different color as well.
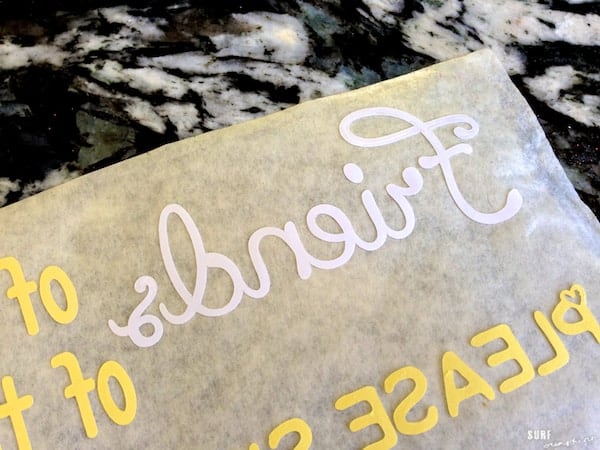
To make this as easy as possible on myself (HAH~!), after transferring everything onto transfer paper, I removed the yellow paper backing on just the word “Friends” and pressed it onto the board. I embossed it using white/clear pearl powder and then came back to do the rest in white.
Now here is where I made a fatal error.
I was having such a hard time peeling the yellow backing off that instead of keeping everything in it’r original layout on the one sheet, I decided to make my life “easier” but cutting it into smaller pieces, or line by line.
When I was deciding where to place the two first lines “of the Bride” and “of the Groom”, I realized that “of the Groom” looked better visually/structurally on top since it was longer so I switched it without thinking.
It wasn’t until I went to place the 3rd line that I realized my fatal error.
It was a poem and I had ruined it. The saying no longer rhymed!
So I had to think of something else to say that rhymed with Bride. I came up with “On either side” so luckily, it turned out just fine and I think makes more sense anyway :)

great time saving and less budget idea for wedding or party
What a cute sign!
I love this idea. Your sign is wonderful. I never liked the bride/groom separate seating either.
that great idea my cousin did this for bridal shower for the couple and it was neat they did it with the chlaf board
I love this sign I was at a wedding yesterday and those it was great idea