I’ve never been one to put up a bunch of decorations for any holiday. I’m not sure if it’s my disdain for knick knacks or that we live in such a small confined space that I’ve learned to simply cut out the non-essentials. Thing is, having kids changes you, right? And in so many ways aside from the ones you think. As Whistler gets older and begins getting excited about holidays, I can’t help but want to share in that excitement.
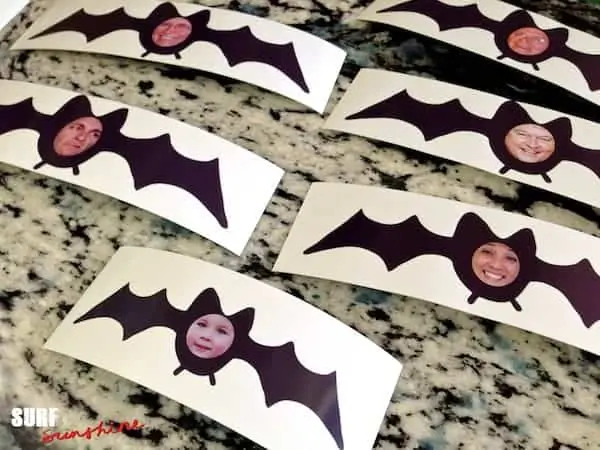
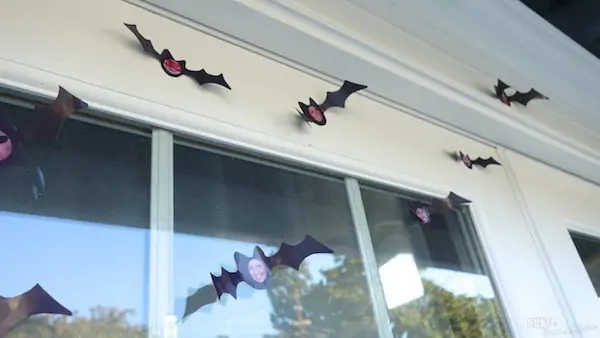
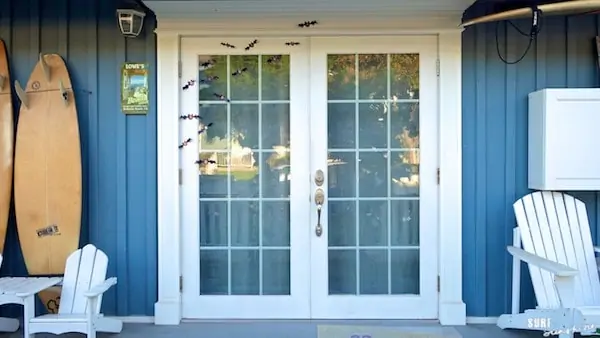
So this year, while we still live in a space smaller than is comfortable and without allowing a single knick knack into my own, I created and put up my very first Halloween decoration. Inspired by the versatility of my ZINK hAppy App Printer, I turned our family (along with the aunts, uncles, cousins and grandparents) into bats. Whistler loves seeing the faces of his loved ones flying around the door as bats and laughs at them almost daily, and to me, that’s all that matters.
I am a ZINK hAppy Club Member and was provided a hAppy Printer and ZRolls so I could craft til my heart’s content. All opinions remain my own.
DIY Family Bat Decorations
Supplies
- ZINK hAppy App Printer
- 2″ ZINK hAppy Roll
- Cell phone or tablet to run the ZINK Design & Print Studio
- Digital photos of your family
- Black construction paper
- Exacto knife
- Paper cutter
Instructions
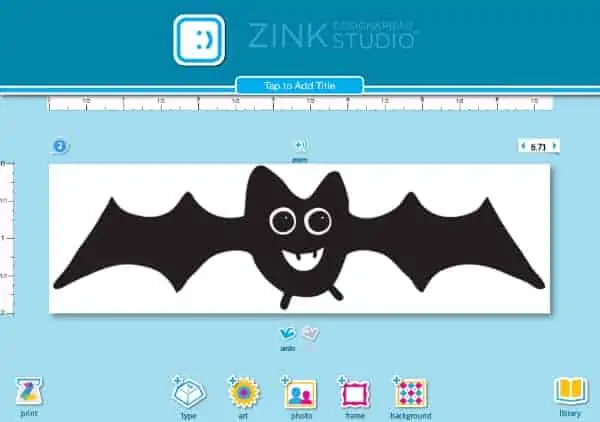
Open your ZINK Design & Print Studio app and download the “Not So Scary Witches” pack from the Art section of the store. You’ll find this cute little bat graphic in there.
Using Photoshop, I took a photo of the face I wanted and layered a circle shaped mask on top to get this.
*TIP* to get the best quality prints, make sure your photos are a minimum of 300dpi resolution.
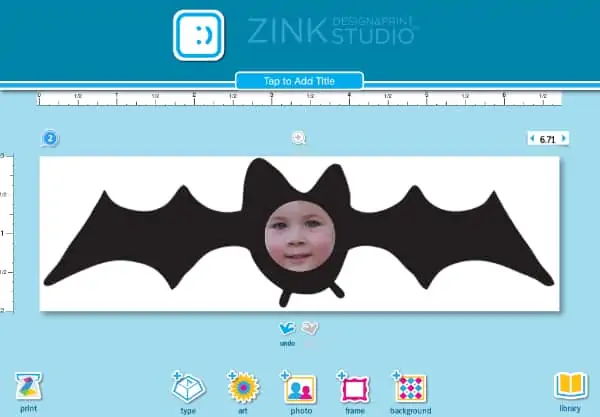
I then imported my face onto the bat by clicking the +PHOTO graphic and adjusted the size so that the corners stayed within the body.
Then print away! *NOTE* I made the men bats the largest size, the women a bit smaller and the kids even smaller.
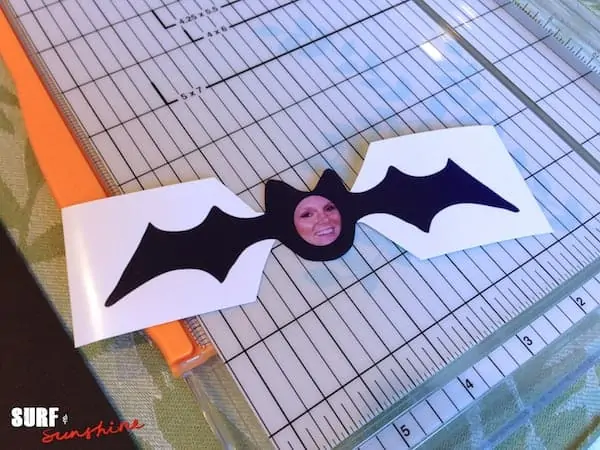
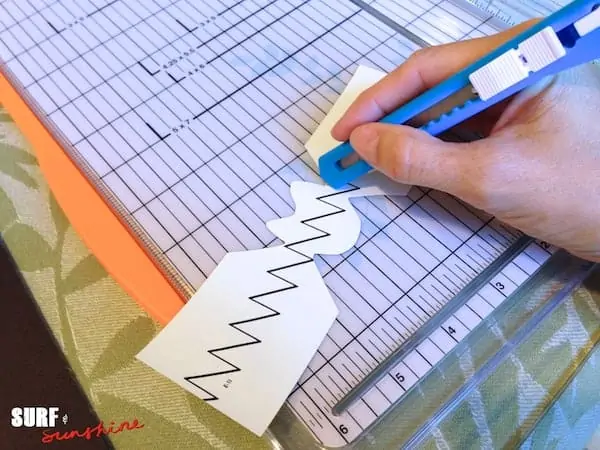
Now, you could just cut out, peel and stick your Bats at this point and be done with it. But I wanted only the body to stick and the wings to be flappy. This took a little figuring out, but I found a fairly easy way to do this. First, cut around the body just to the point where the wings connect on both sides.
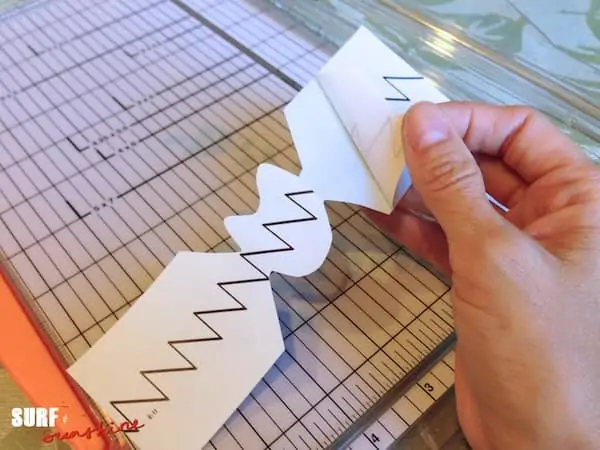
Now turn it over and lightly cut thru only the paper from the back.
*NOTE* If you want to finish this project in a hurry and don’t care if the underside of your wings are white, then you can simply finishing cutting out the bat (finish around each wing) and then remove the paper backing from only the body to stick wherever you like.
But being the perfectionist that I am, I needed the backs of my wings to be black. So if you’re with me, continue one :) Peel away just the backing from the wings.
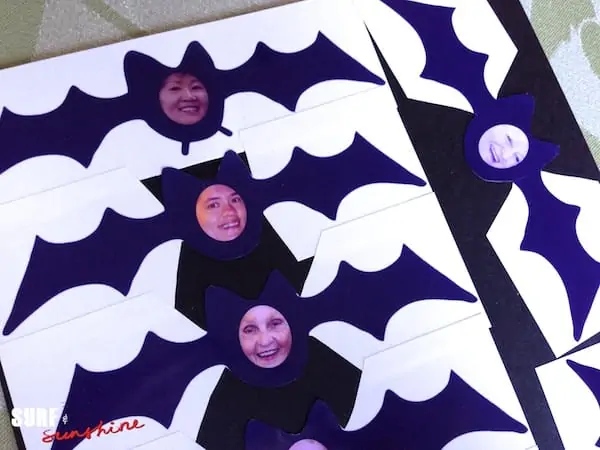
and place them onto black construction paper. To conserve paper, go ahead and have the whites overlap. You’re just going to cut that part off anyway.
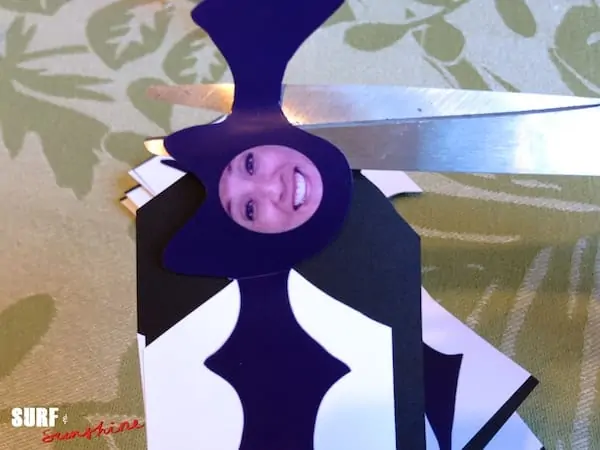
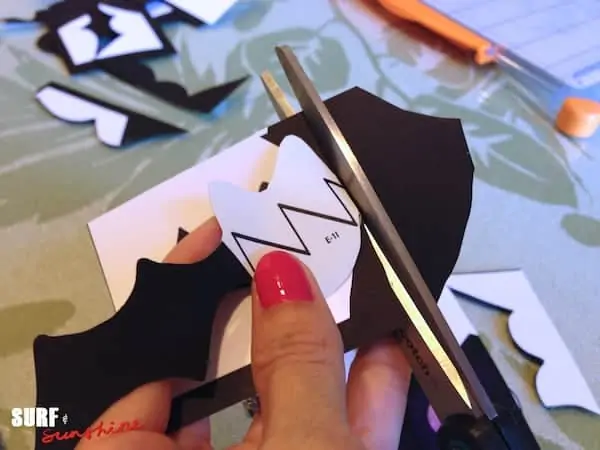
Cutting out one wing at a time, once you get to the body you may think, “hm, now how do I do this?” You could break out the exacto knife again, but I found it easier to simply slide my scissors under the body and cut at the wing joint.
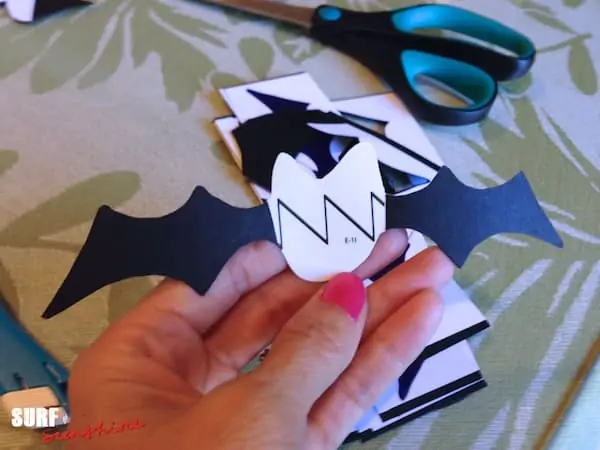
Once you’ve done that, you can fold the body over at the other joint and begin your cut around the other wing like so.
This gives you black wings and access to remove the paper backing of the body to place where you like!
I am a ZINK hAppy Club Member and was provided a hAppy Printer and ZRolls so I could craft til my heart’s content. All opinions remain my own.

I like these I think i’ll try to make them
I is just too super cute love it.