Looking for a fun and easy craft project to keep the kids busy? Our Tissue Paper Suncatcher DIY Craft Kits are a great way to get your kids to use their imaginations and creative skills. Plus, it’s super easy to make – just rip, glue, cut, and hang!
Who would enjoy making this craft?
Our Tissue Paper Suncatcher DIY Craft Kits make a great gift for anyone who loves arts and crafts. With loads of fun and creativity, these kits are sure to be a hit with crafters of all ages – from 5 years to 99 years old.
It makes an ideal gift for birthdays, holidays, or any special occasion. You could even use them as party favors or a classroom project. The possibilities are endless. It’s also a great way to spend some quality time with your child or grandchild.
Where do I get a suncatcher DIY kit?
You probably purchased one from me in person at a local craft show (hiya!), but in case you didn’t and you’d like a kit – you can order them from my online shop here.
What’s included?
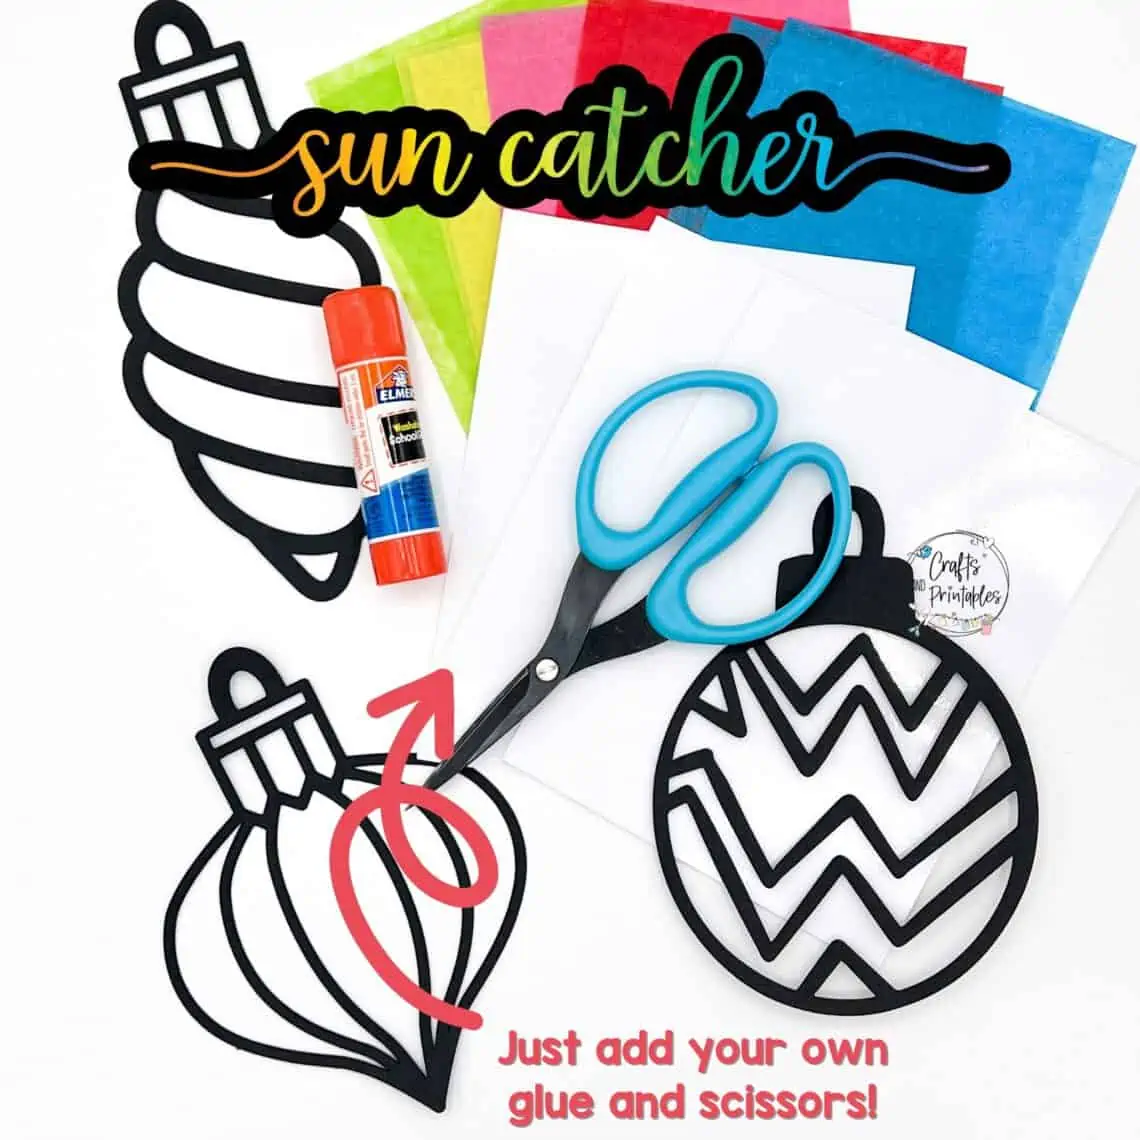
Our ready to use tissue paper suncatcher DIY kits come with everything you need to make your suncatchers, including:
- tissue paper in a variety of colors
- black paper design frame(s)
- clear window cling vinyl sheet(s)
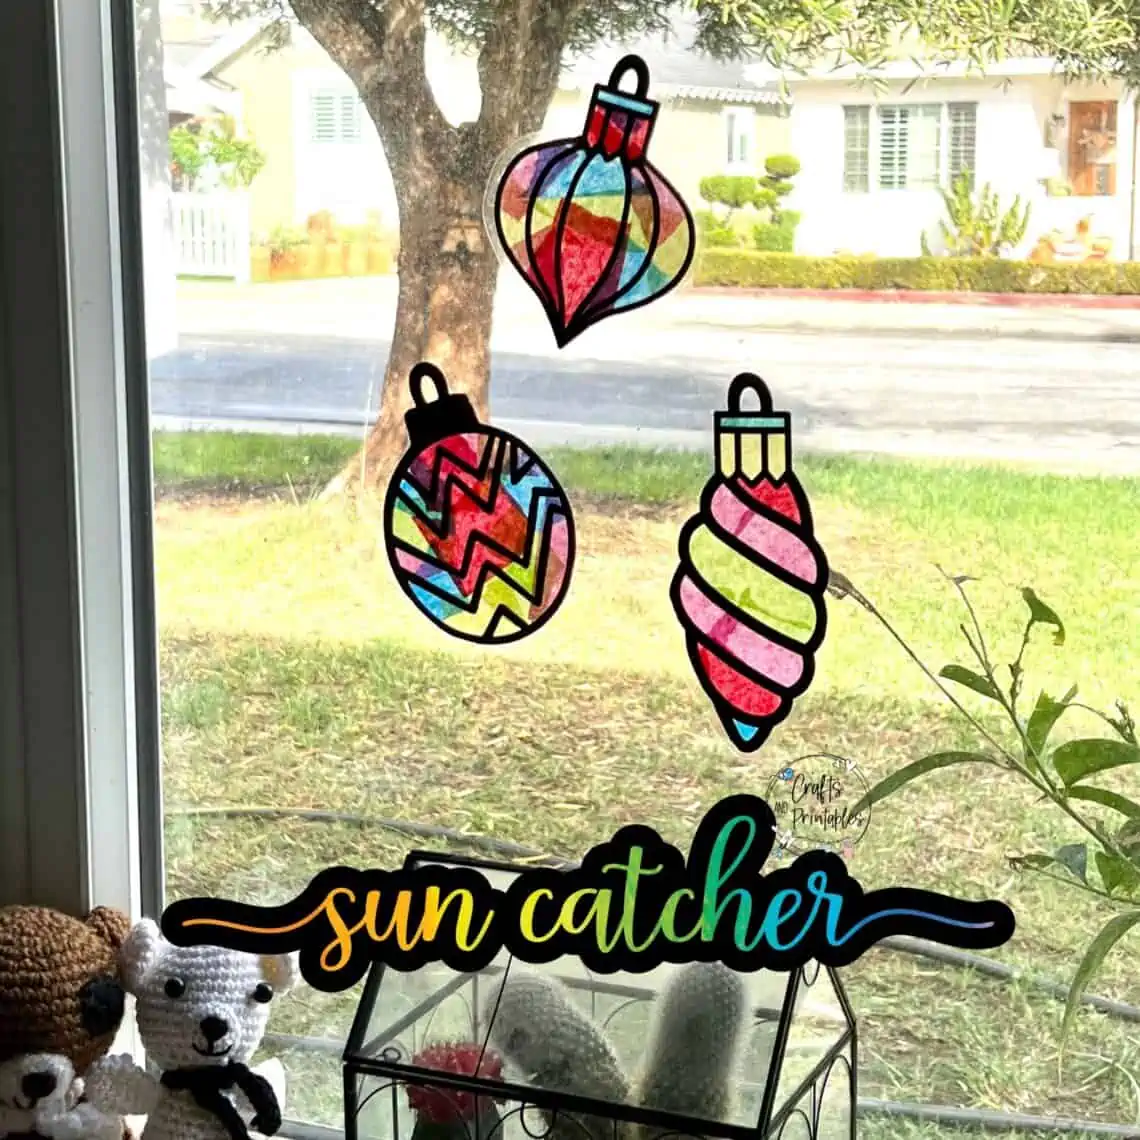
All you need to do is grab your glue and scissors (not included) and add your own imagination and creativity! The best part is that when you’re finished, you’ll have a bright and colorful suncatcher to place on your windows.
What makes your kit different than the rest?
Most kits just include the black design frame and tissue paper, telling you to tape your sun catcher to the window when finished.
WHUUUAAAT?!?! The perfectionist in me can’t stand the thought of just taping such a beautiful creation to a window (and then ruining the project if it needs to be moved or taken down!).
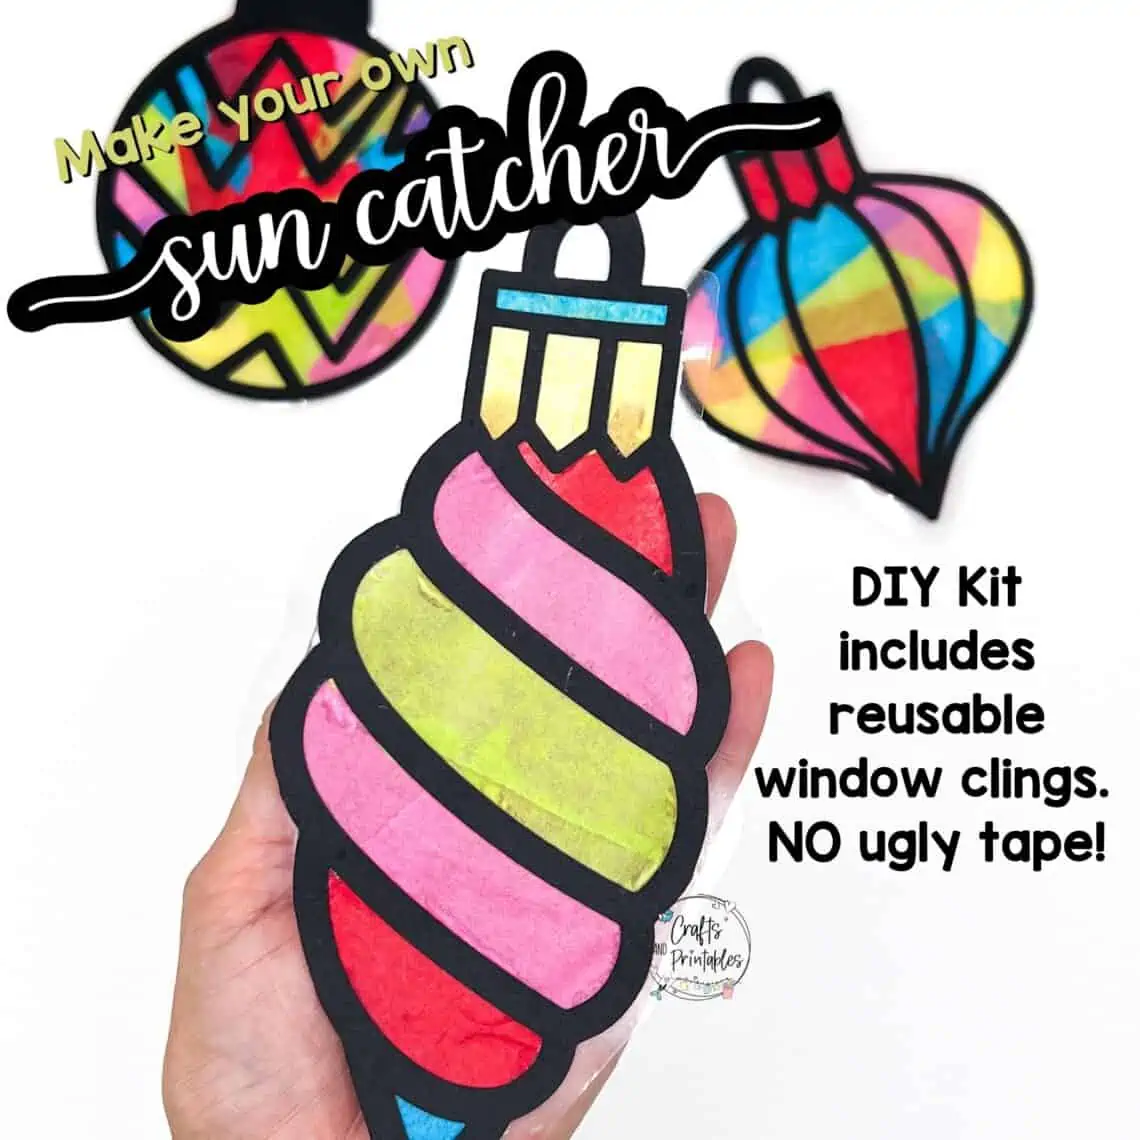
So I include some special static cling window vinyl so you can easily apply these to any window and move or reuse them over and over again! It leaves absolutely no residue and can be used on almost any smooth surface.
Kids will enjoy being able to rearrange their designs, move them to different rooms in the house, bring them along on car rides, and save them to use again next year.
DIY Sun Catcher Kit Instructions
Making your suncatcher using one of our kits really is easy as pie, but we all love a good photo tutorial. So let’s get started.
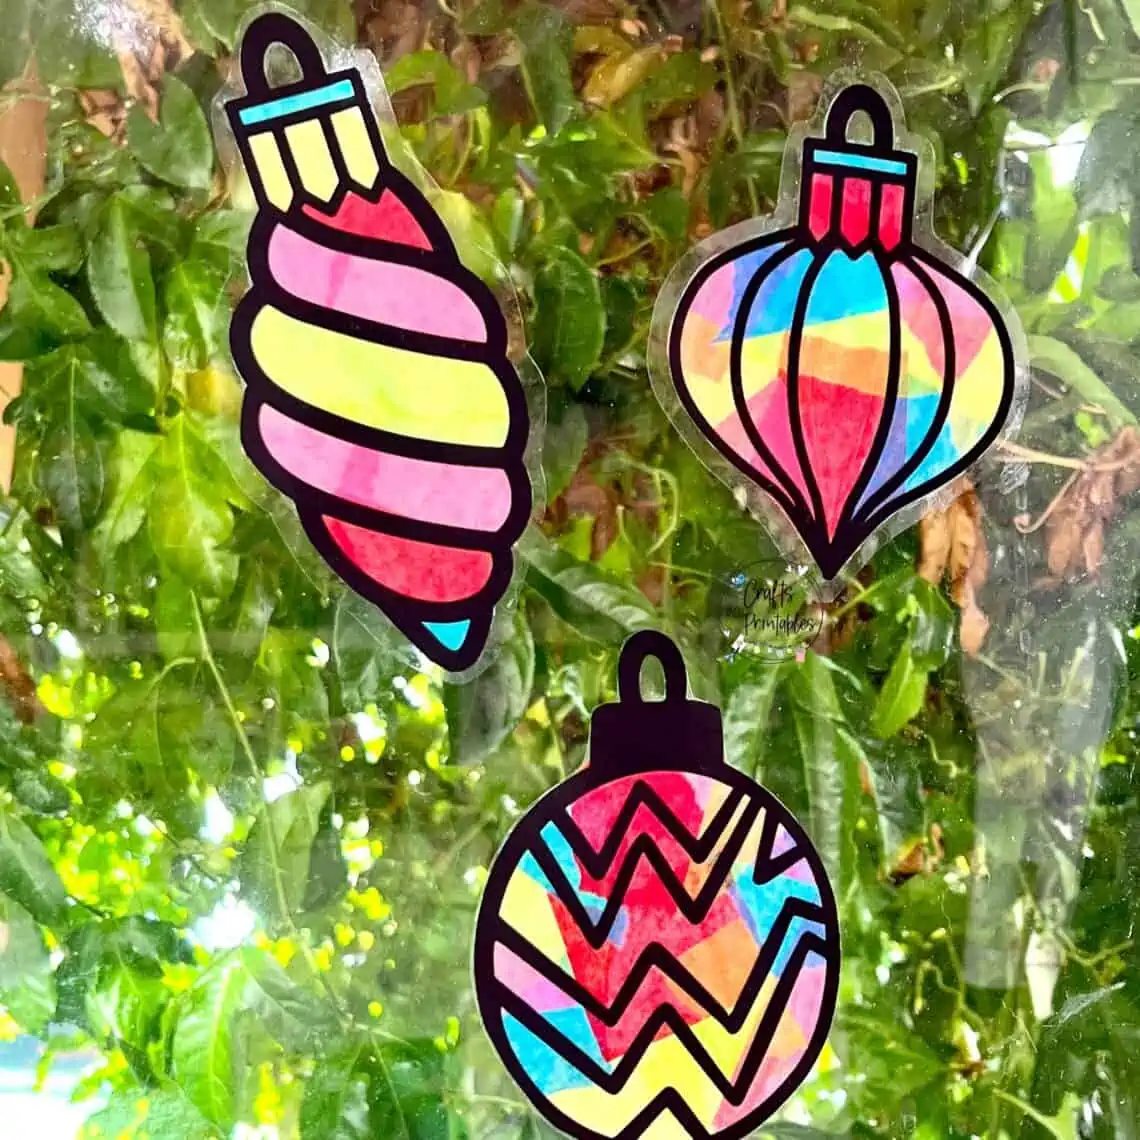
*I’m using my Holiday Ornaments Suncatcher Kit as an example, but this process obviously works with any and all the kits!
Step 1
Tear or cut the tissue paper into a variety of shapes and sizes
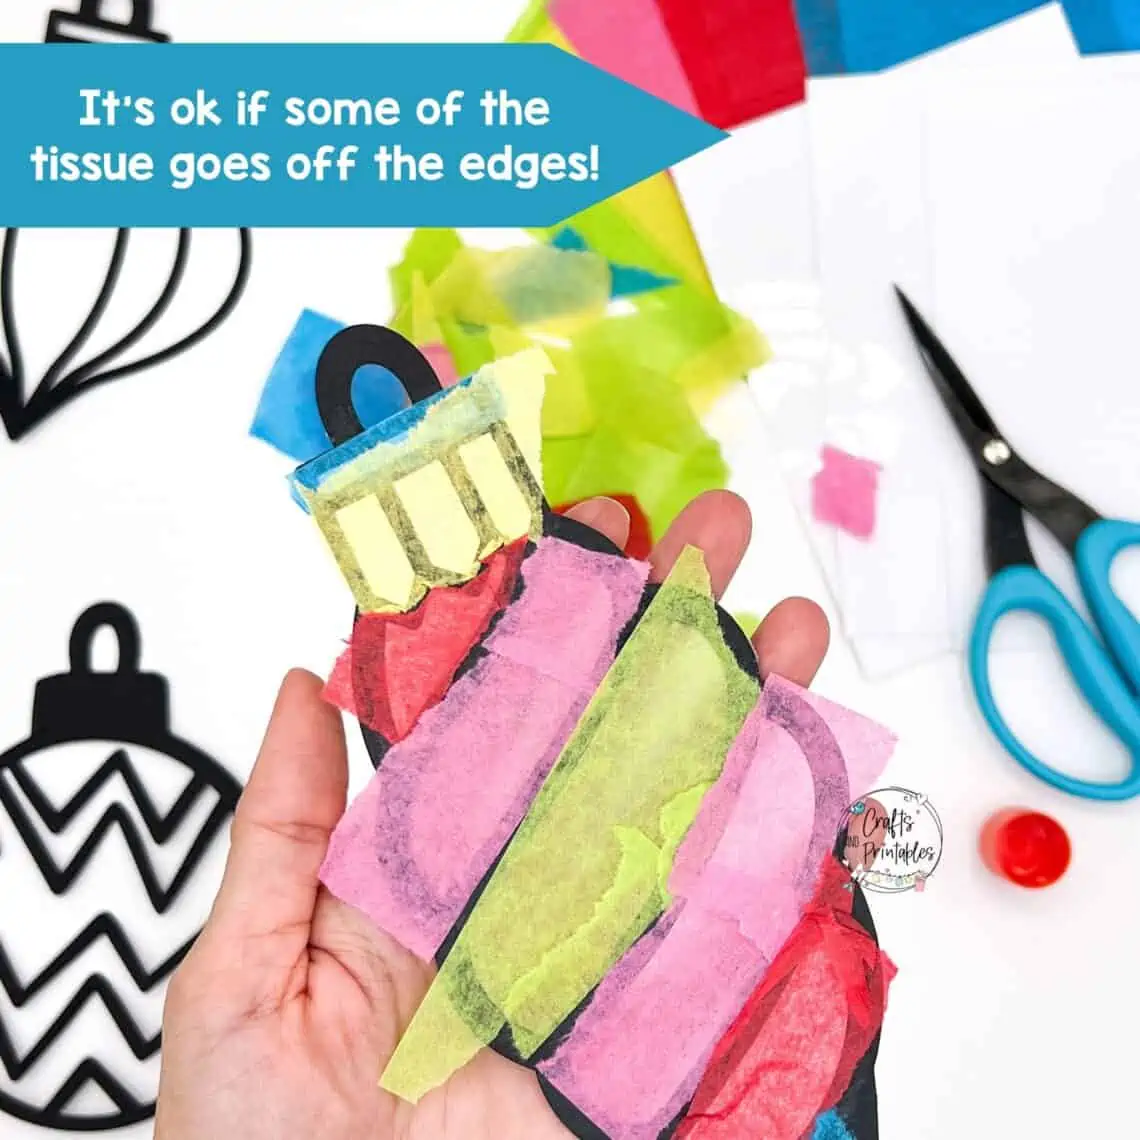
Step 2
Place glue onto one side of the black frame and attach the tissue paper.
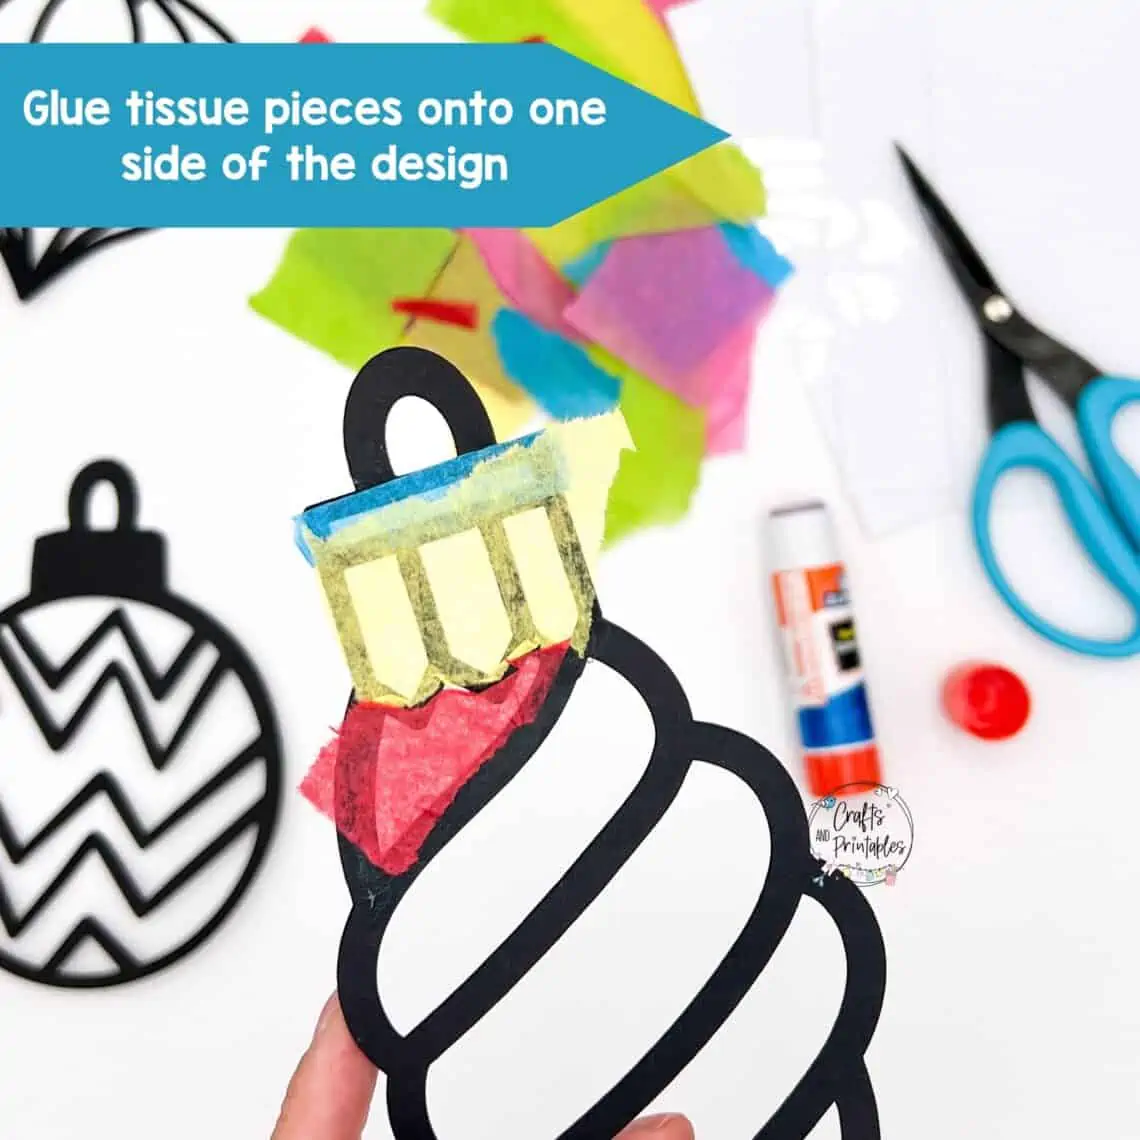
Keep going until you have all the open space filled in. It’s ok if some of your tissue paper spills over the outside edges!
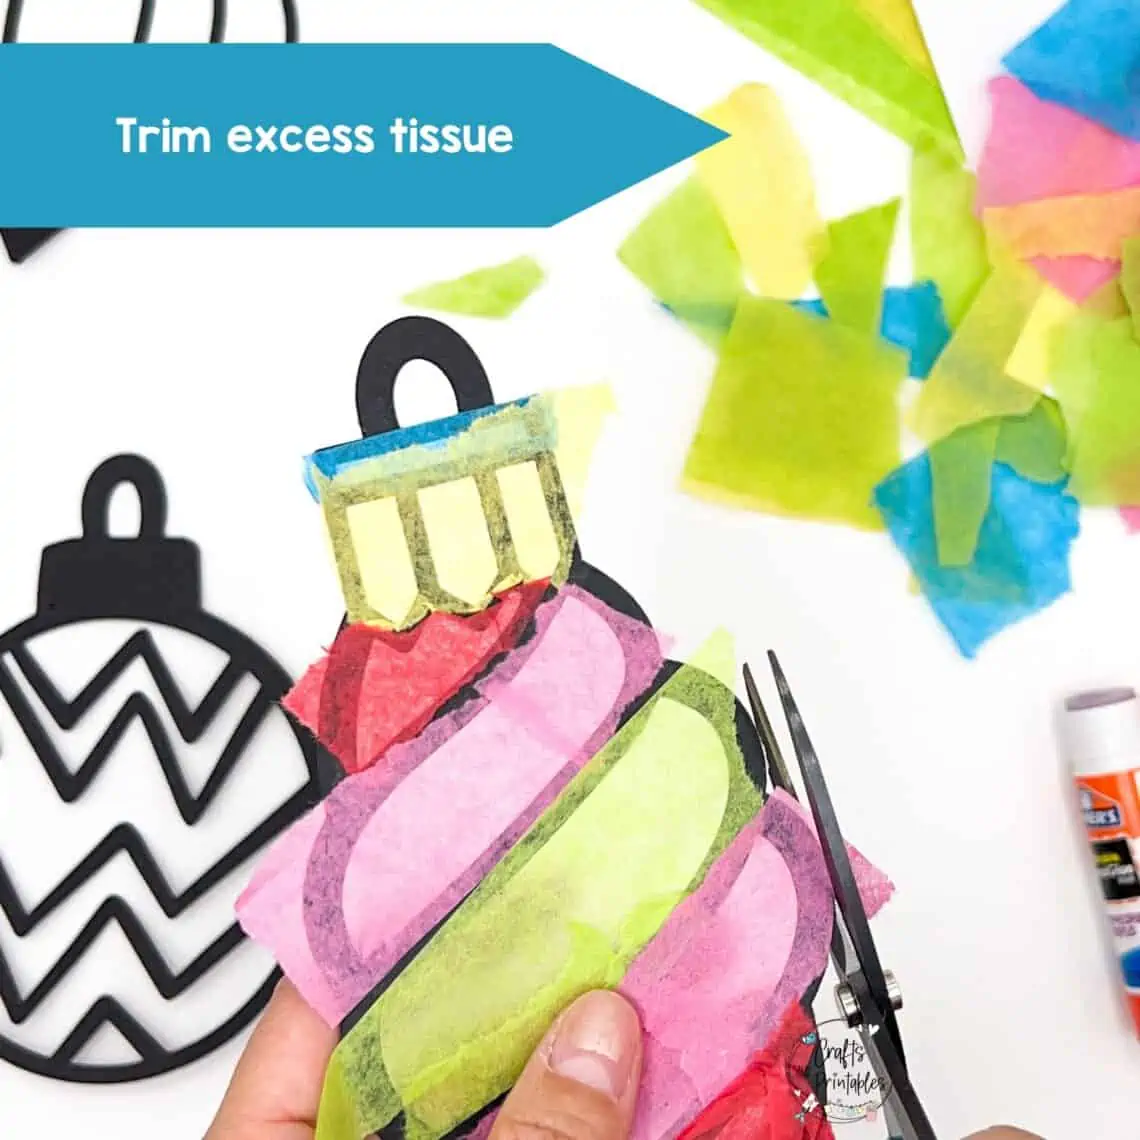
Step 3
Trim any excess tissue paper from around outside edges.
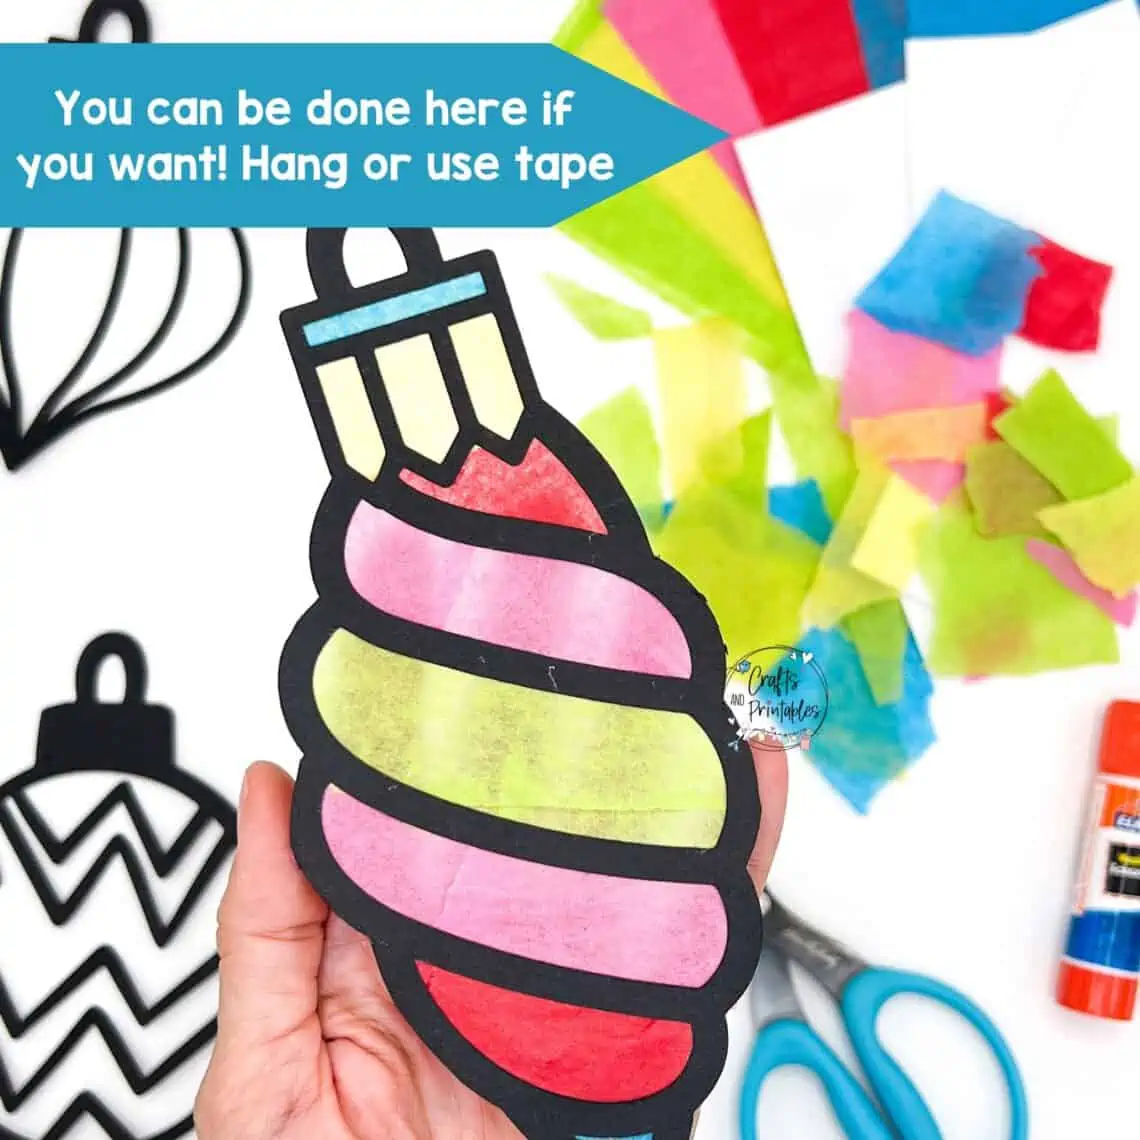
Step 4
You’re actually all finished! Hah – that was easy, right? You can tape (we recommend using double sided tape for a clean look).
Of if you purchased one of our kits, we include special window cling film – so let’s move onto the next step!
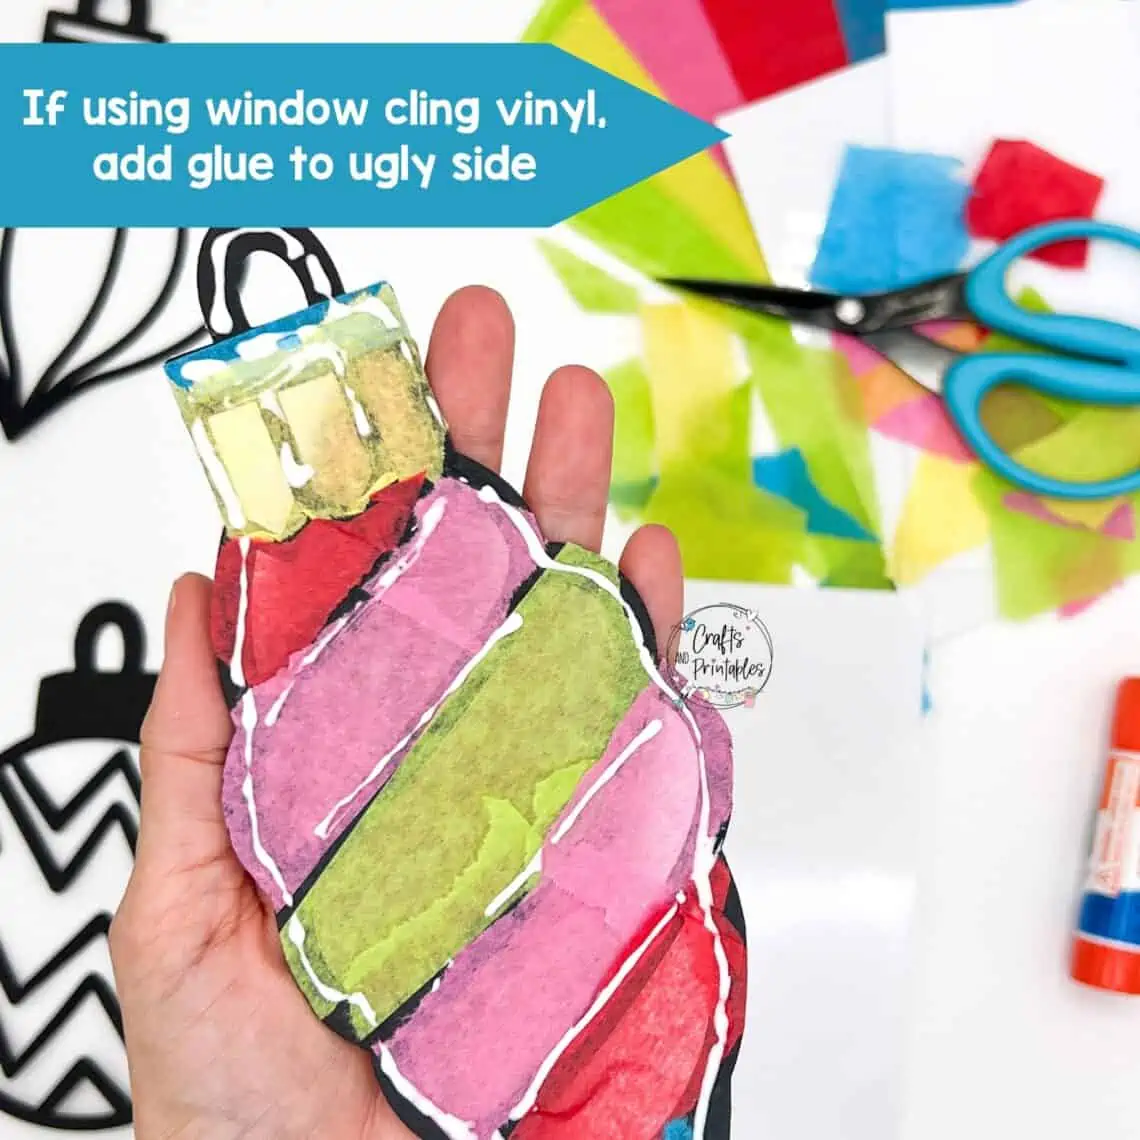
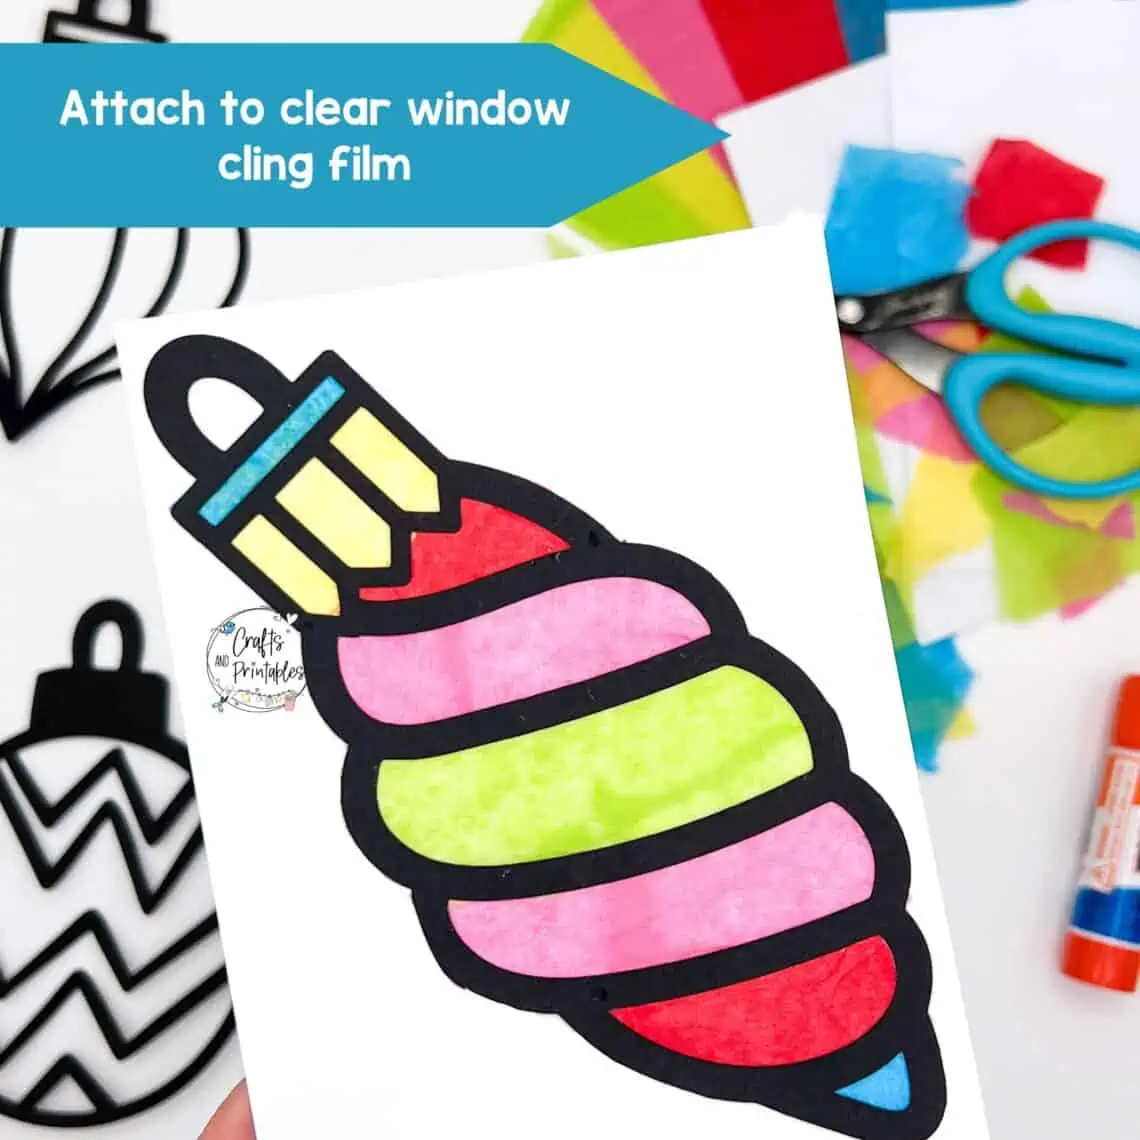
Step 5
Glue the “ugly” side of your suncatcher (the same side that you attached the tissue paper to) onto the clear window cling film.
***You can use any glue, but some may peel away from the cling material easily so we recommend carefully using super glue.
Step 6
When the glue is dry, cut around the outside of your design – leaving about a 1/4″ edge of extra window cling material.
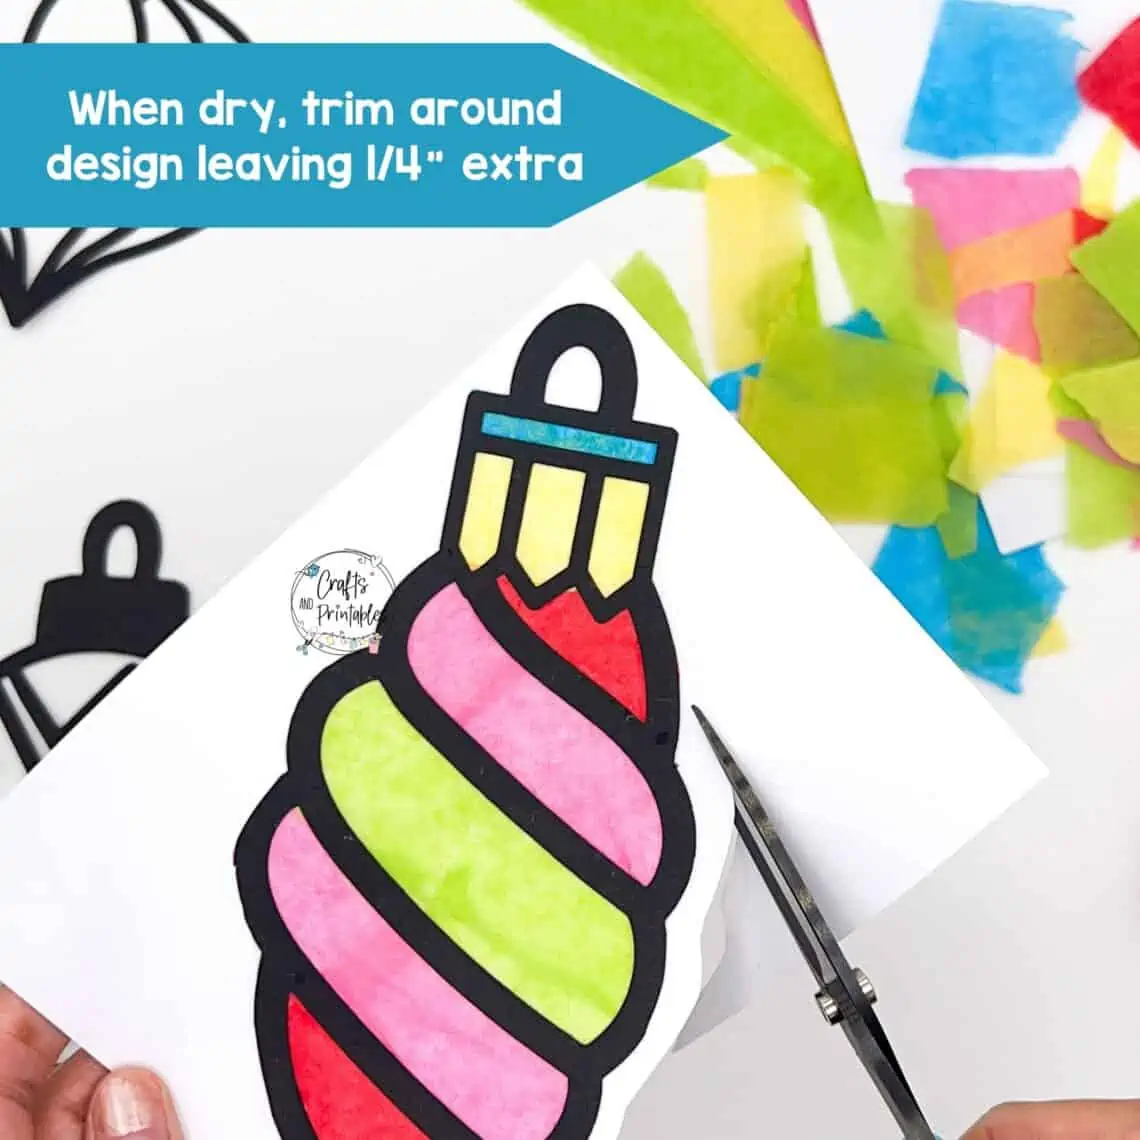
This is important as it gives you a little more area to stick on your windows AND also gives you something to grab when peeling it off to move or put it away.
Note that if you try to remove the sun catcher by pulling on the black paper frame instead of the cling material, you might end up peeling the suncatcher right off the cling (depending on the glue you used).
But really, it’s no big deal because you can always just glue it back on :)
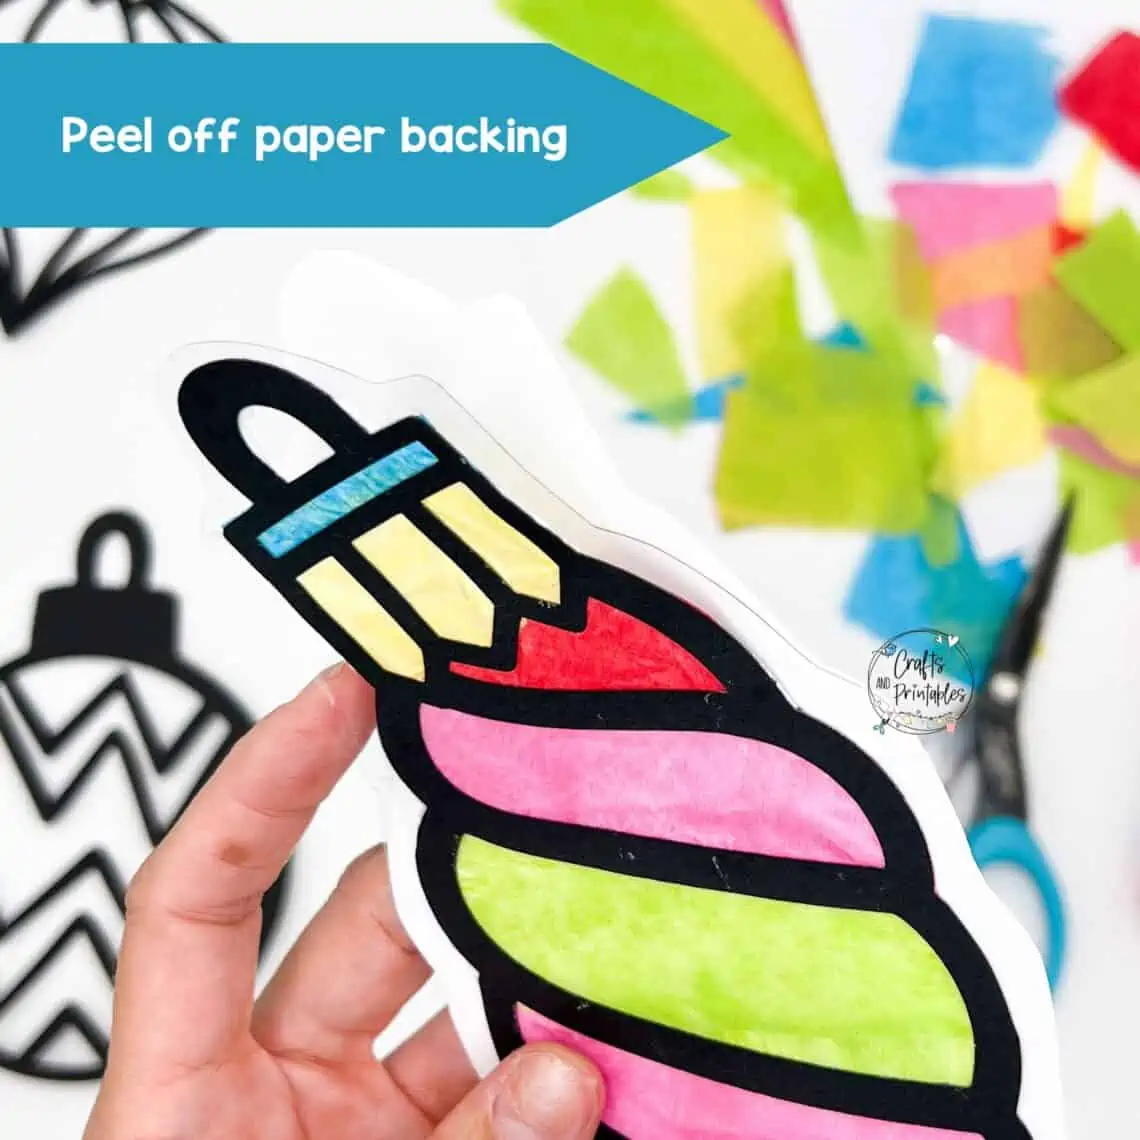
Step 7
Peel away the paper backing and you’re ready to apply your sun catcher to a sunny window and enjoy the colorful display.