Whether you’re shooting portraits, landscapes, macro photography or long exposure, tripods can take your photography game to the next level. One of the greatest, often overlooked, benefits of using a tripod is that it forces the photographer to slow down and really think about the photo they’re taking. While the tripod can seem like a quick fix for many photography issues, it does take some practice and a bit of know-how to correctly and effectively use a tripod.
5 Photography Tips for Using a Tripod
Setting Up Your Tripod For a Photo
Setting up your tripod for a photo isn’t as simple as just plopping your tripod down and adjusting its height, although that’s what many people do. Before you even begin worrying about the tripod it’s better to first find your composition through your viewfinder. Once you have an idea of the image you want to create you can start setting up the tripod.
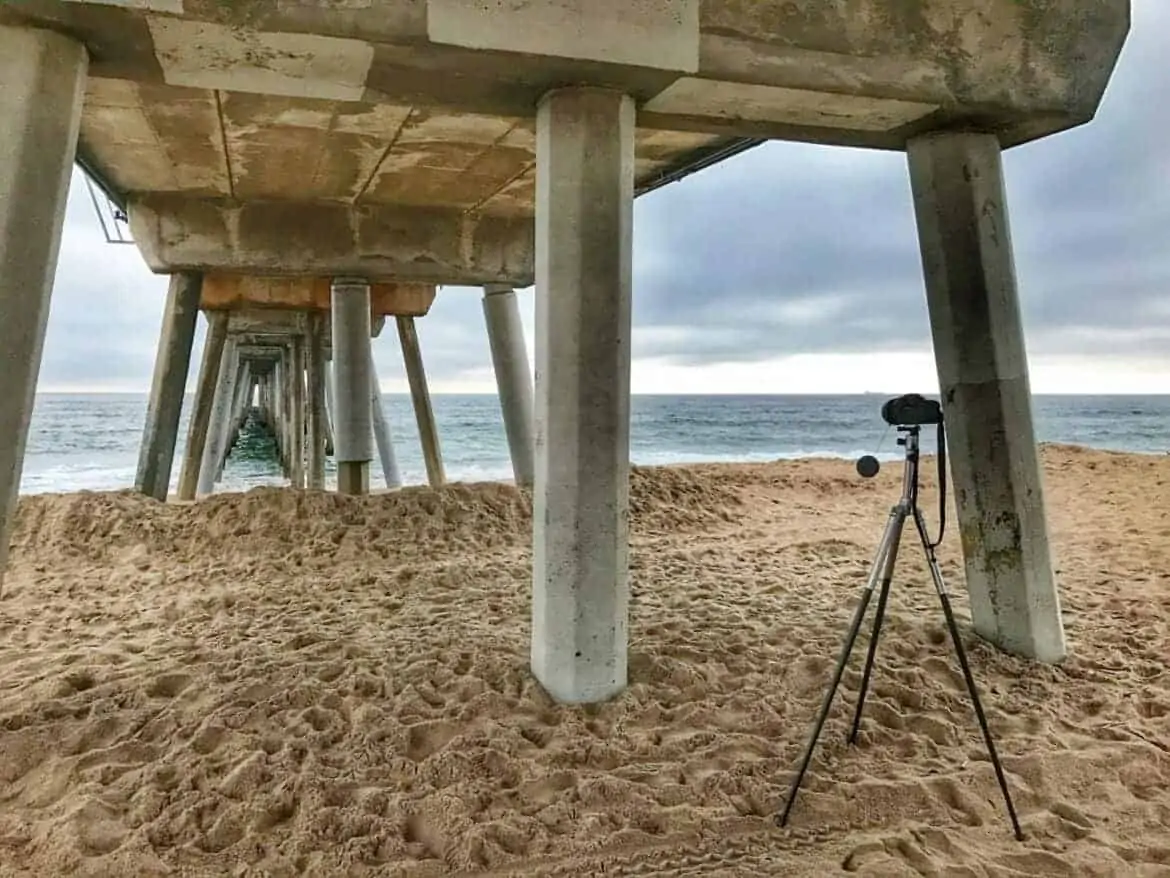
Begin by pointing one of the tripod legs toward your subject – this helps stabilize the tripod and gives you room to stand behind the camera. Keep the center post vertical and perpendicular to the surface for increased stabilization. Extend the thickest part of the tripod legs first and then the thinnest. Try to avoid completely extending the legs for better stability.
Turn off Image Stabilization
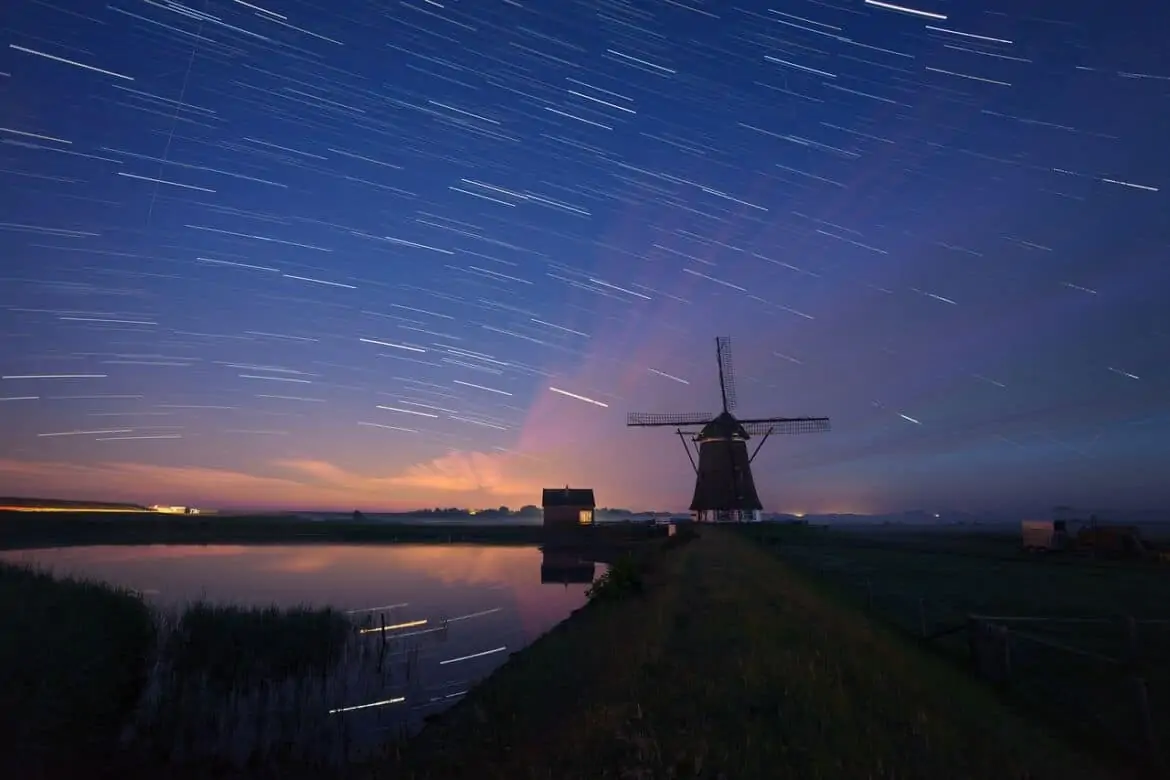
Many camera lenses today come with Image Stabilization. It’s a small switch located on your lens that will say “Stabilizer On/Off.” When shooting handheld you almost always want IS/VR switched on because this basically causes your lens to generate minor vibrations meant to counteract any hand shake. However, when you’re shooting with the slower shutter speed on a tripod, this vibration is counter productive. When it comes to the shutter speed necessary to create star trails, light trails or any long exposure shot, even the smallest vibrations can ruin an image so be sure to set this feature off.
Get a Shutter Release or Remote
In the same way image stabilization can be counter productive to long exposure photography, so too can manually pressing your shutter button. Instead, purchase a shutter release or a camera remote to reduce image shake. You can also use your camera’s timer feature in a pinch.
Don’t Skimp on Quality Tripod
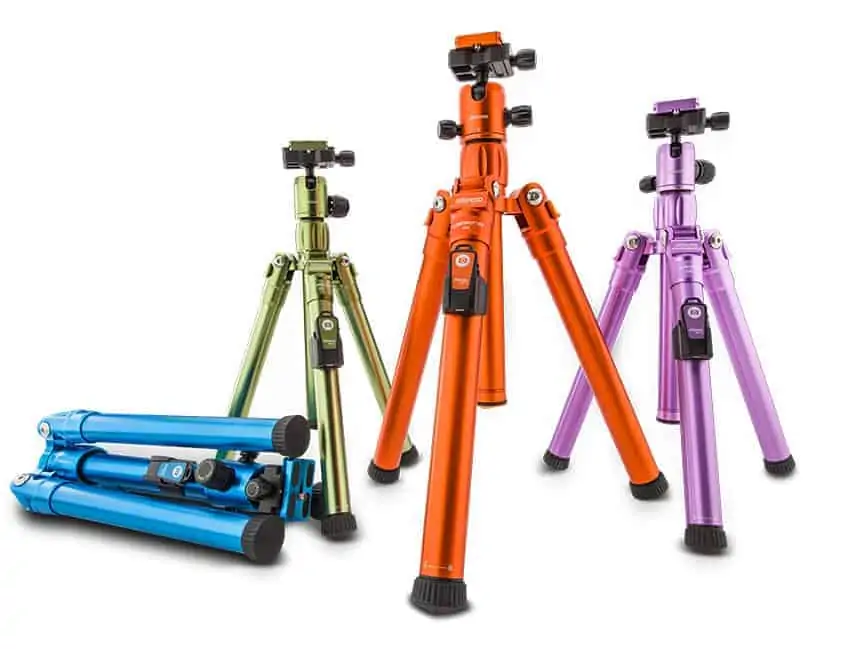 A tripod may not be the fanciest or most exciting piece of camera equipment you’ll ever buy, but that doesn’t mean you should pick up just any inexpensive piece of equipment. It doesn’t make any sense to place thousands of dollars of camera equipment on a cheap tripod that is flimsy or unstable. As an avid traveler that likes to pack light but still wants full features, the MeFOTO GlobeTrotter Air is my go-to, lightweight and compact tripod that is ideal for smartphones, compact cameras, action cameras, mirrorless and DSLR cameras. Weighing in at just 3.2 lbs, the tripod expands to a nice height of 68 inches (um thats taller than I am!) while collapsing down to a compact 12 inches long – making it my ideal travel companion and carry-on baggage friendly!
With its pull and twist locking system, you can make the tripod nearly any length in between very quickly and put it on nearly any surface. The tripod even comes with a removable telescoping center column that converts to a Selfie Stick with included smartphone holder and a Bluetooth remote, something I’ve yet to come across in any tripods I have owned over the years. Very clever!
Shoot at the lowest ISO possible
One of the benefits of using a tripod is that you can slow down your shutter speed to allow your camera to capture light for a longer period of time. This allows you to also lower your ISO, something that usually has to be increased in low-light situations. Why would you want to do this? Well, the lower the ISO, the less sensitive the camera’s image sensor is to light which means less noise and grain in your image – something we all dread when shooting low light situations. With a lower ISO, you can create quality, stunning images at dusk, dawn and even pitch black.
Pin this post for later!
Thank you to MeFOTO for providing product for this post. All opinions remain my own.
All these five tips are really good. Thanks for this post. Keeps it up.
These are good tips! I haven’t really played around with my camera so I don’t know much about shutter controls or stuff like that. I have to start practicing and get a good tripod too while I’m at it.
I have been thinking of upping my photography game. Photos can make or break a blog post and I am learning a trick or two everyday. Thanks for your tips about tripods and shutter speeds. That is something new I learned today.
My oldest uses one often. His pictures come out great.
Yes, yes, and YES! I made the mistake of getting a crappy tripod first because it was cheap and it broke the very first time I used it. So, it ended up costing EVEN MORE because I had to then replace it. Great post!