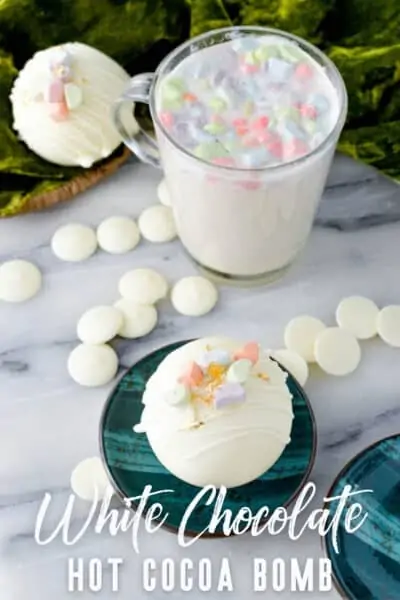
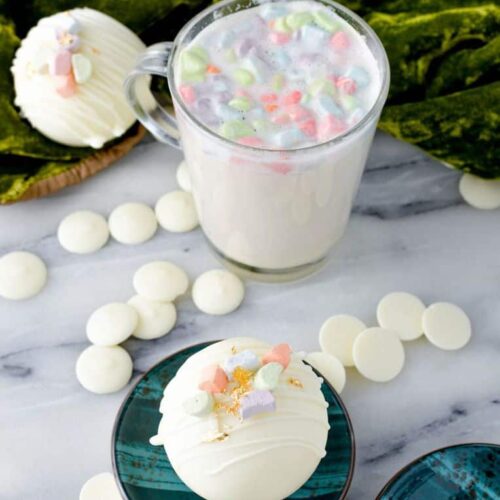
Looking for your pot of gold this St. Patrick’s Day? Look no further than this white chocolate bomb recipe. DIY hot chocolate bombs are so fun to make. Make them with the kids and then add steaming hot milk to discover a fun pot of gold in your mug!
If you’re looking for something a little festive that the entire family can enjoy on St. Patrick’s Day, these Pot of Gold White DIY Hot Chocolate Bombs are it.
Kids will have a blast decorating them and the whole family will love the rich white chocolate dessert drink.
It seems that most St. Patrick’s Day activities are either just for kids OR not kid-friendly at all. While it’s certainly fun to indulge in some adult celebrations, sometimes a little family friendly fun is needed.
This Pot of Gold White Chocolate Bomb recipe is a treat for the whole family. Kids love watching them explode when the hot milk is poured over the top.
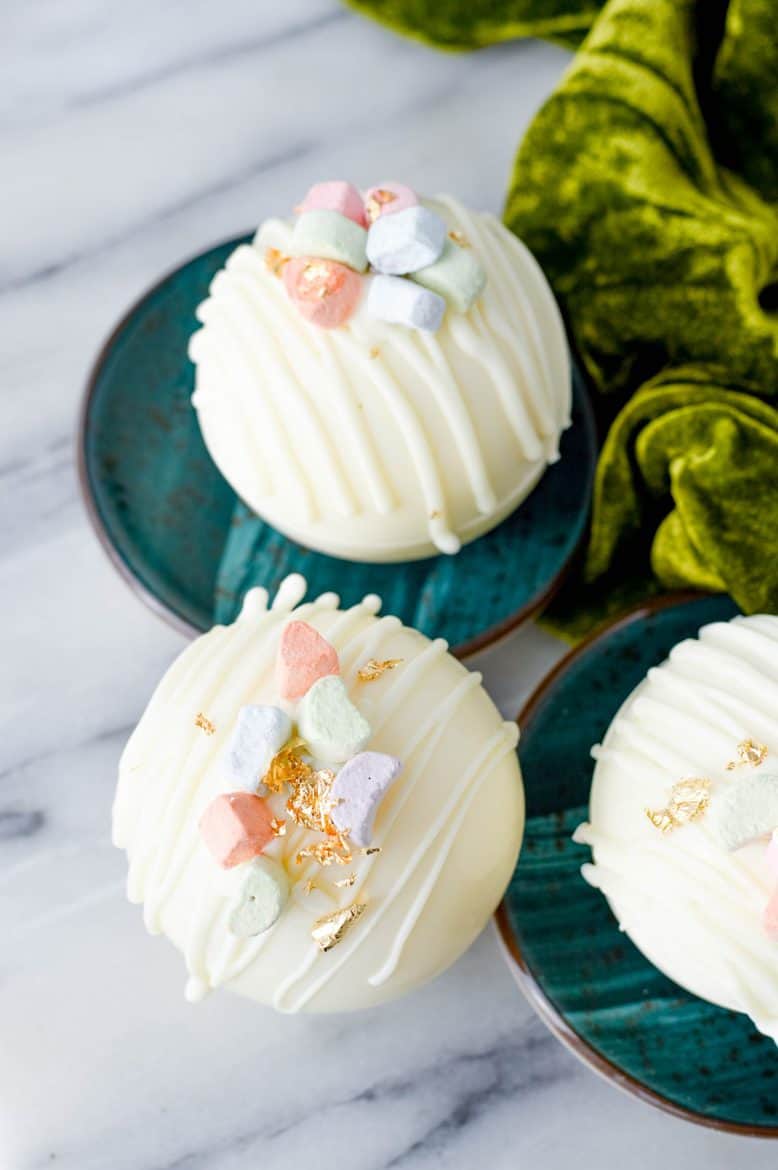
While the gold leaves used as decoration are a bit fragile, kids can also get in on the decorating action with the chocolate drizzle and marshmallows.
What are Hot Chocolate Bombs?
DIY hot chocolate bombs are the latest trend taking over the Pinterest/Tik Tok/Instagram sphere. This Pot of Gold White Chocolate Bomb recipe is just one variation on them.
Essentially, hot chocolate bombs are chocolate truffles stuffed with marshmallows or other traditional hot chocolate add-ins.
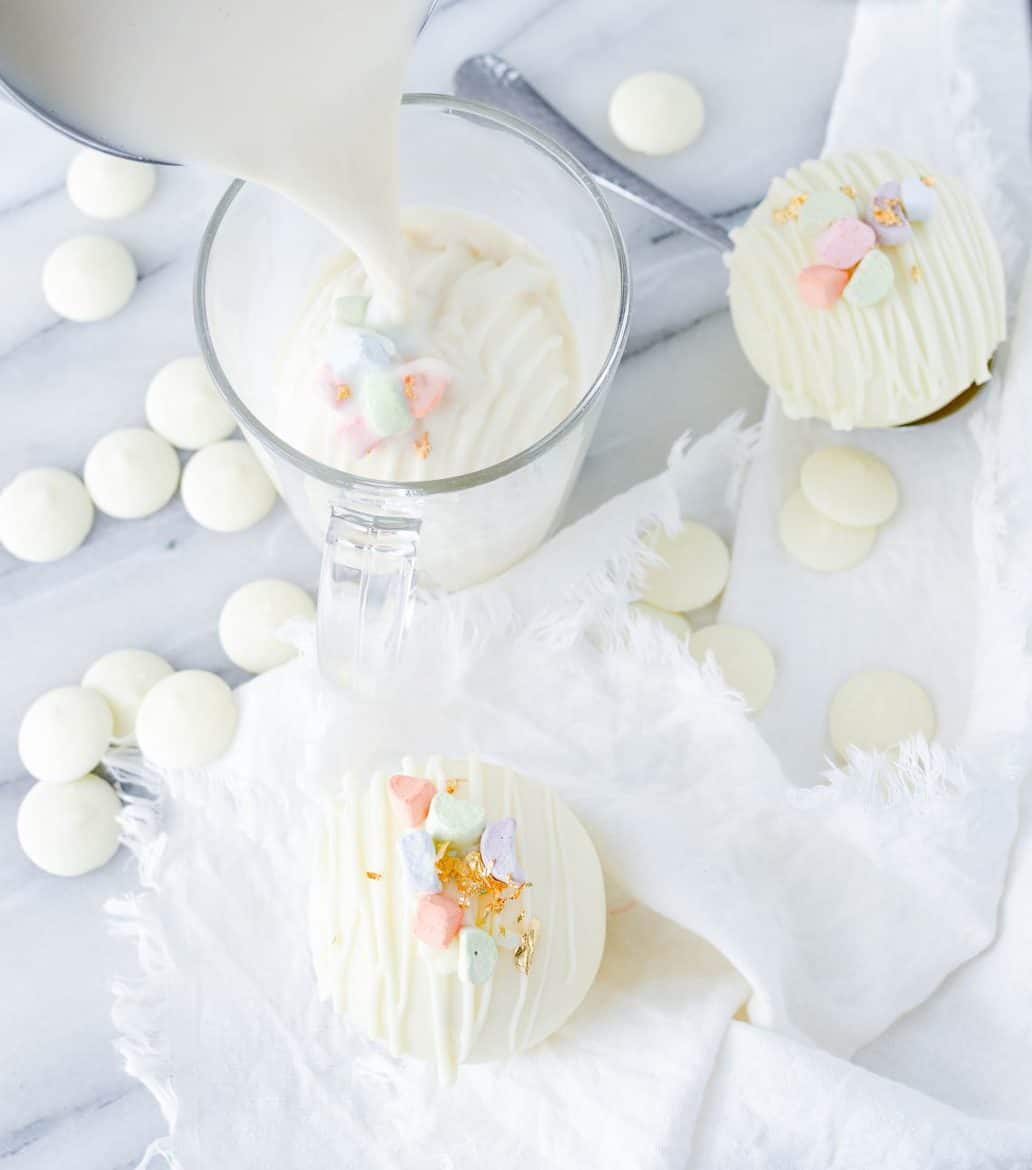
Place them in a mug, pour steaming hot milk over them, and they burst open and start to melt. Stir and you have yourself a delicious, creamy hot chocolate!
How to Store Hot Chocolate Bombs
Do hot chocolate bombs need to be refrigerated? Well…maybe. Hot chocolate bombs will melt if it gets too warm, so it’s always best to keep them somewhere cool and definitely out of the sun.
[wp_show_posts id=”104192″]
Hot chocolate bombs should be stored in an airtight container. If your kitchen stays cool, you should be okay leaving them out on the counter for about a week.
However, if it gets warm or humid, definitely move them to the fridge for up to 2 weeks. If you know you won’t be using them for a while, you can store them in the freezer for up to a month.
What Does White Hot Chocolate Taste Like?
White Hot Chocolate is like a marriage between milk chocolate and vanilla. It’s smooth and creamy, like a decadent milk hot chocolate, but with a lighter, more vanilla-like flavor.
Fun fact: White chocolate itself is not actually chocolate, as it’s made with sugar, cocoa butter, milk, vanilla and lecithin.
Do I Need to Add Hot Chocolate Mix to My Hot Chocolate Bomb?
Some hot chocolate bombs will call for a tablespoon or so of hot chocolate mix inside of the truffle. For these Pot of Gold White Hot Chocolate Bombs, there is no need for this.
Because these are made with such high-quality chocolate, we found no reason to add a powdered mix. The chocolate melts so perfectly that it leaves you a drink so rich and smooth, powdered chocolate will be the last thing on your mind.
How Long Do Hot Chocolate Bombs Last?
For our recipe, you’ll want to heat the milk to around 140 degrees Fahrenheit and carefully pour over the top of the bomb and then stir until smooth.
It will break open fairly quickly. The warmer the milk and the more you stir, the faster it will melt and blend.
The colder the bombs are, the longer it will take for them to melt and open up.
Hot Chocolate Bomb Variations:
- Use milk chocolate or dark chocolate instead of white chocolate
- Pour hot coffee over the top instead of hot chocolate for a creamy white chocolate mocha treat
- Get creative with the decorations. Most cake and cookie decorations can be used for hot chocolate bombs.
How to Make a Hot Chocolate Bomb
Prep time: 5 minutes
Hands on time: about 20 minutes
Cooling time: about 15 minutes split up
Total time: about 45 minutes
Yields 3 hot chocolate bombs

Ingredients
- 1 cup of quality Melting White Chocolate Wafers, divided
- Dehydrated Mini Marshmallows, about 1.5 tablespoons per ball plus more for the top
- Optional: Edible Gold Leaf
*A hot chocolate mix is not needed because of the quality of this chocolate. We also prefer its smooth and rich taste and texture vs having the powder style mix in them – which can get clumpy and weird.
If you are going to use candy melts for the shell, then you should add powdered hot cocoa mix inside.
Instructions
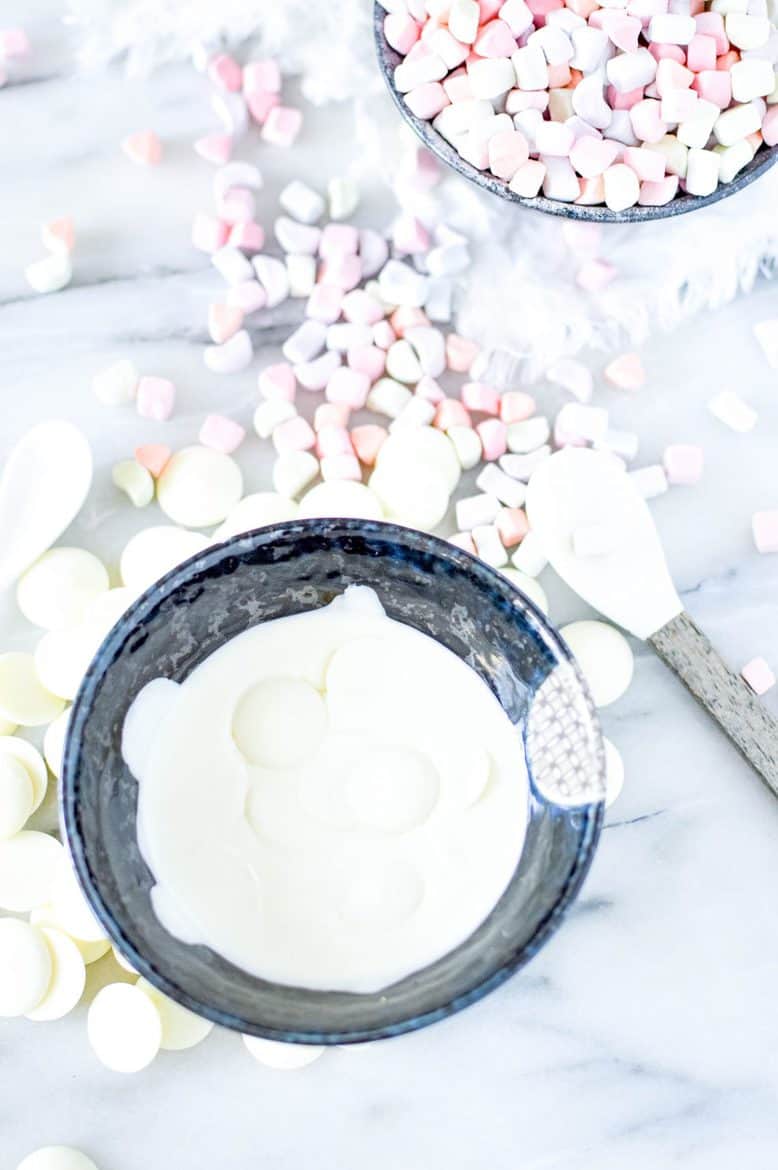
Melt the chocolate according to package directions.
Start with a clean and dry silicone sphere mold on a tray or plate to help keep level when moving it.
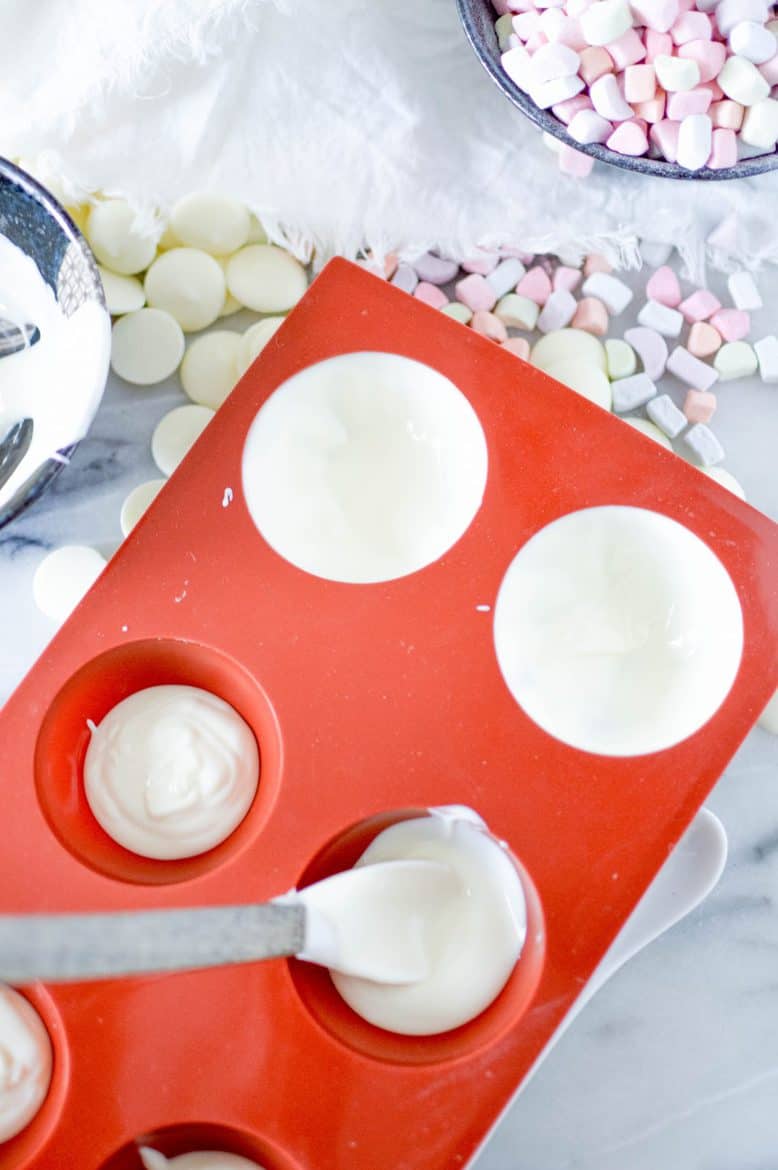
Pour the chocolate into each well and use a spoon or spatula to evenly spread the white chocolate right up to the edges.
Place the tray in the freezer for about 5-10 minutes.
Remove from the freezer and add a second layer of chocolate anywhere that seems a bit thin, especially around the top edges of the circle, you need this part to be just thick enough that it won’t chip off when removed from the mold.
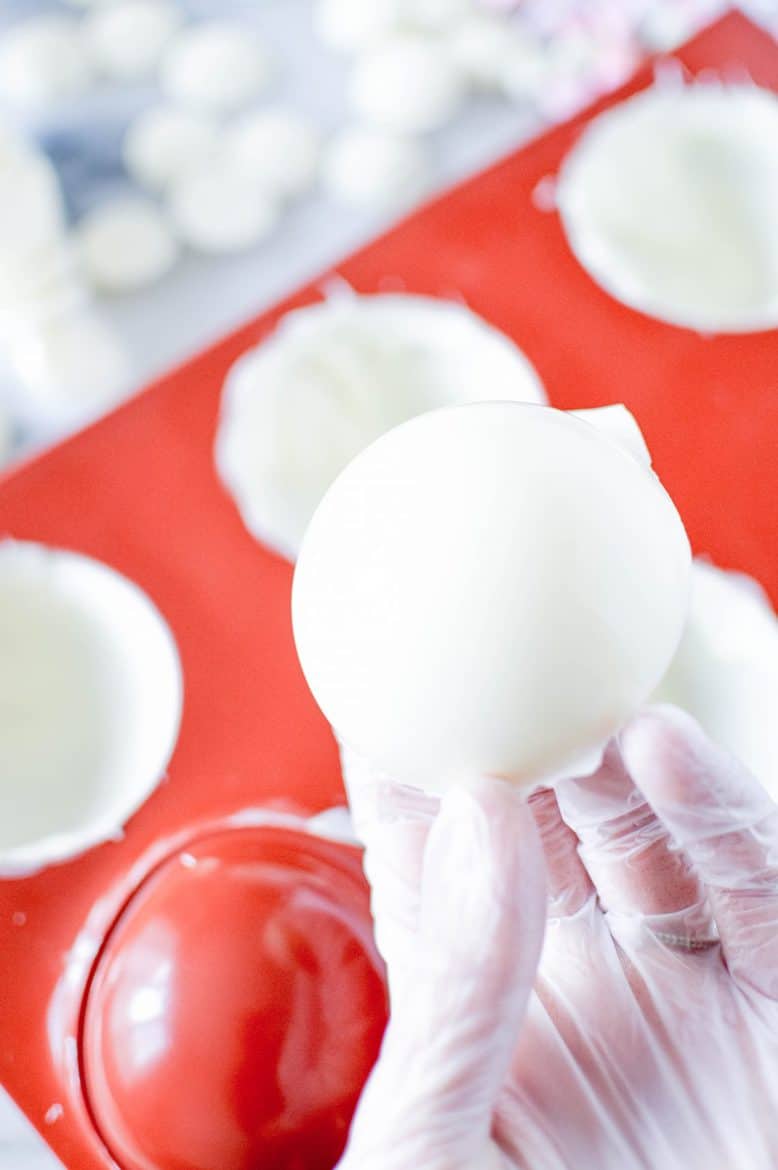
Return to the freezer for 5 more minutes.
Remove the circles from the mold and set onto the chilled tray from the freezer. Then gently melt the edges of the circles on a hot plate so you’ll have a smoother seam between the two halves. Repeat with the other 5 circles.
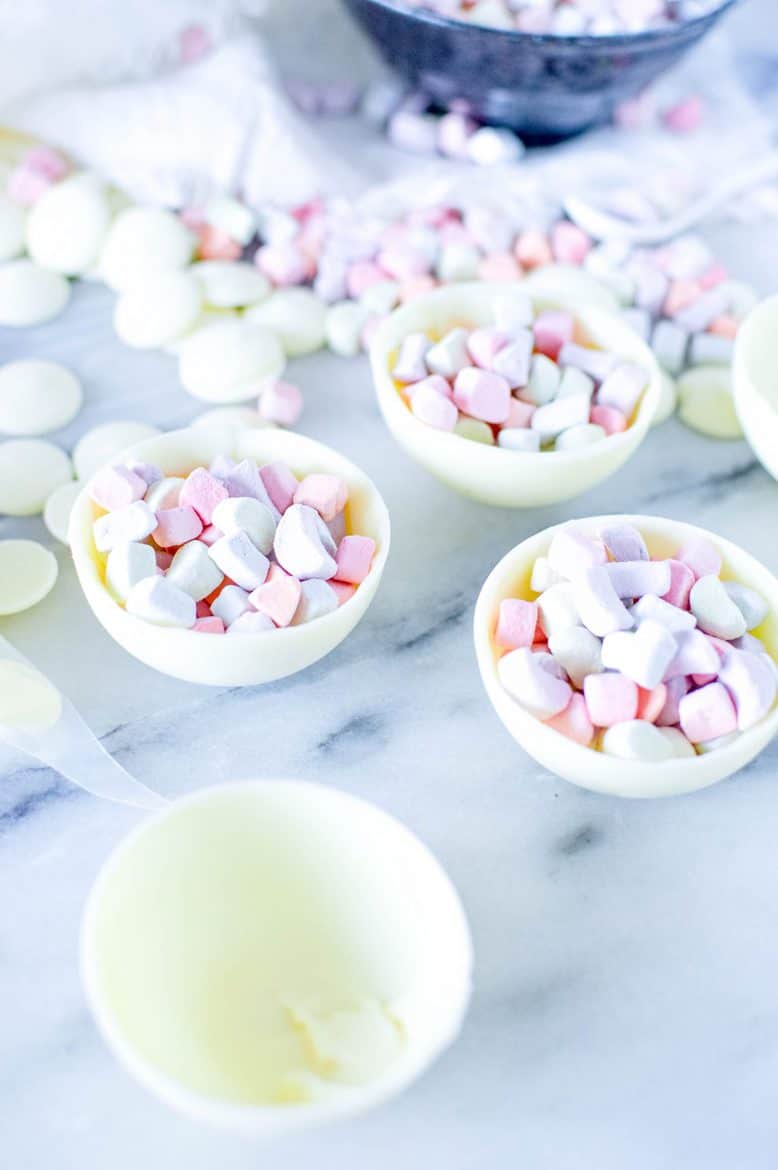
Add the marshmallows to half of the cups, try to add enough for it to be slightly mounded up but not so many that it will make it hard to top with the second cup and get a clean seal.
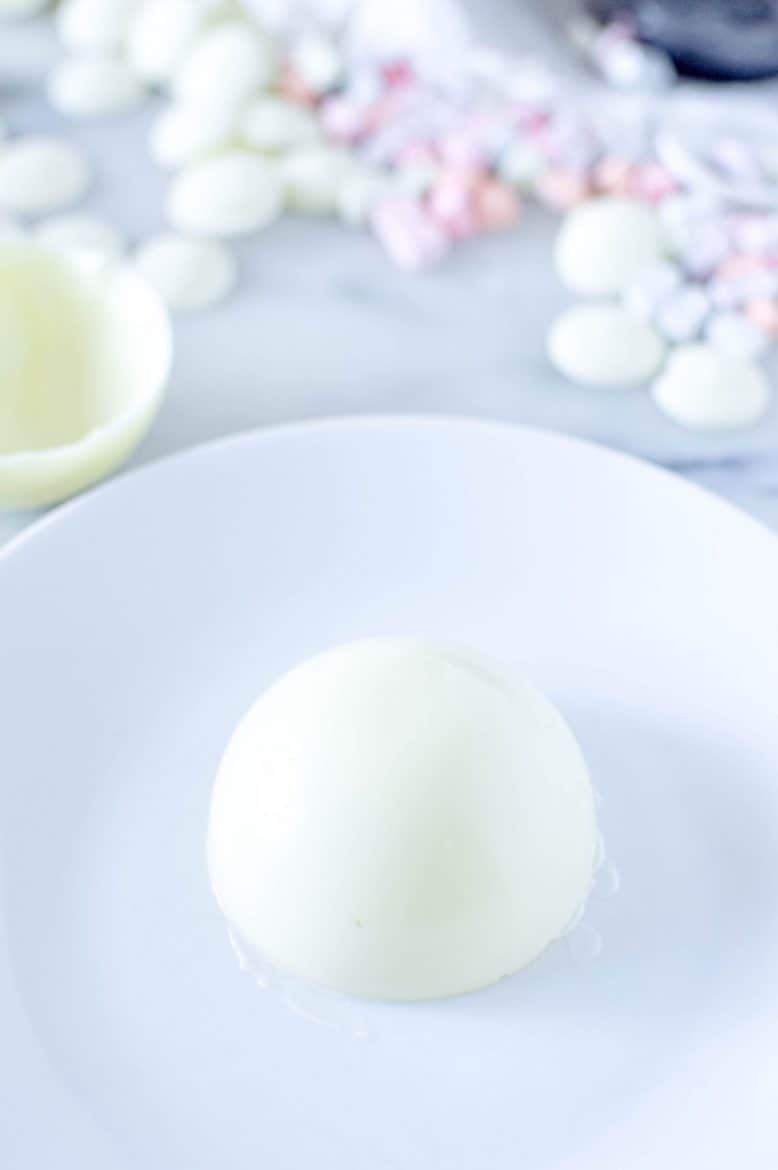
Heat the edges of the empty cups again, one at a time, and set onto one of the filled cups.
When all of the bombs are filled and sealed together you can melt the chocolate to drizzle on top. I used the same chocolate that was used for the cups, make sure your chocolate has a little bit of cocoa butter, this will help with a smooth drizzle.
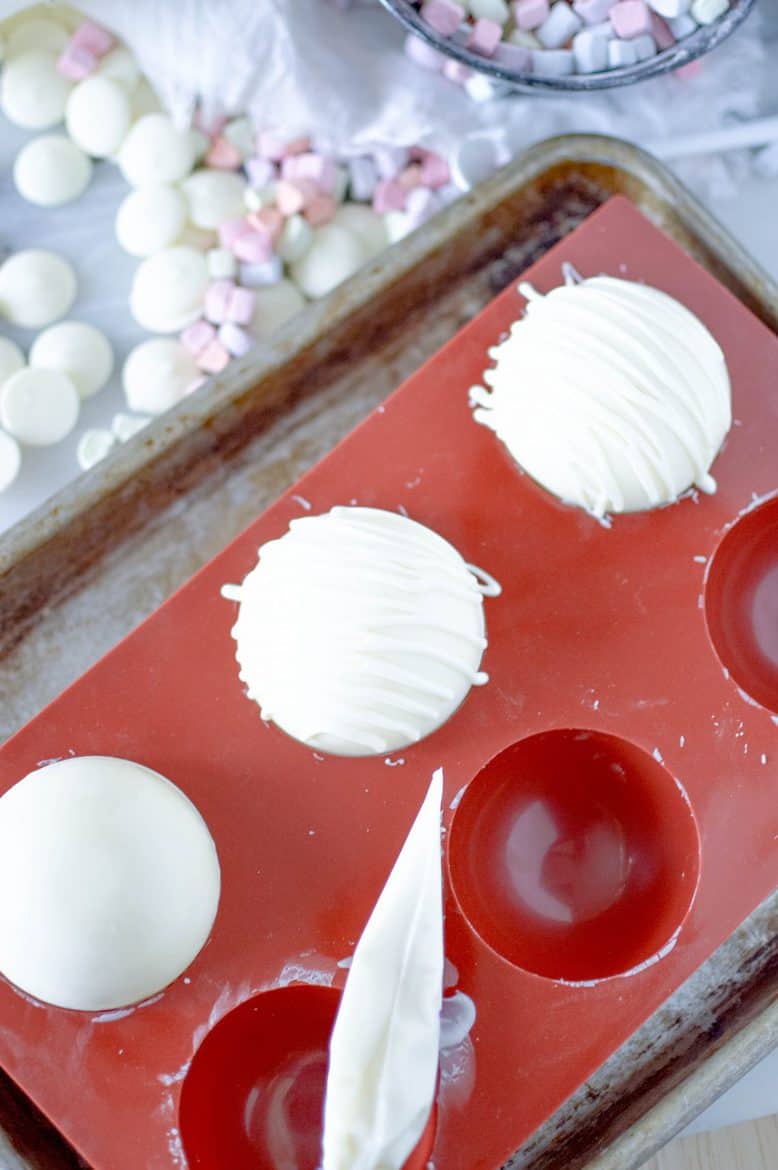
Melt the chocolate and drizzle over the tops with candy piping bags and then immediately add the marshmallows.
Set the finished bombs back in the fridge or freezer for a few minutes to help the chocolate drizzle harden. I set the bombs back into the mold so they wouldn’t roll around.
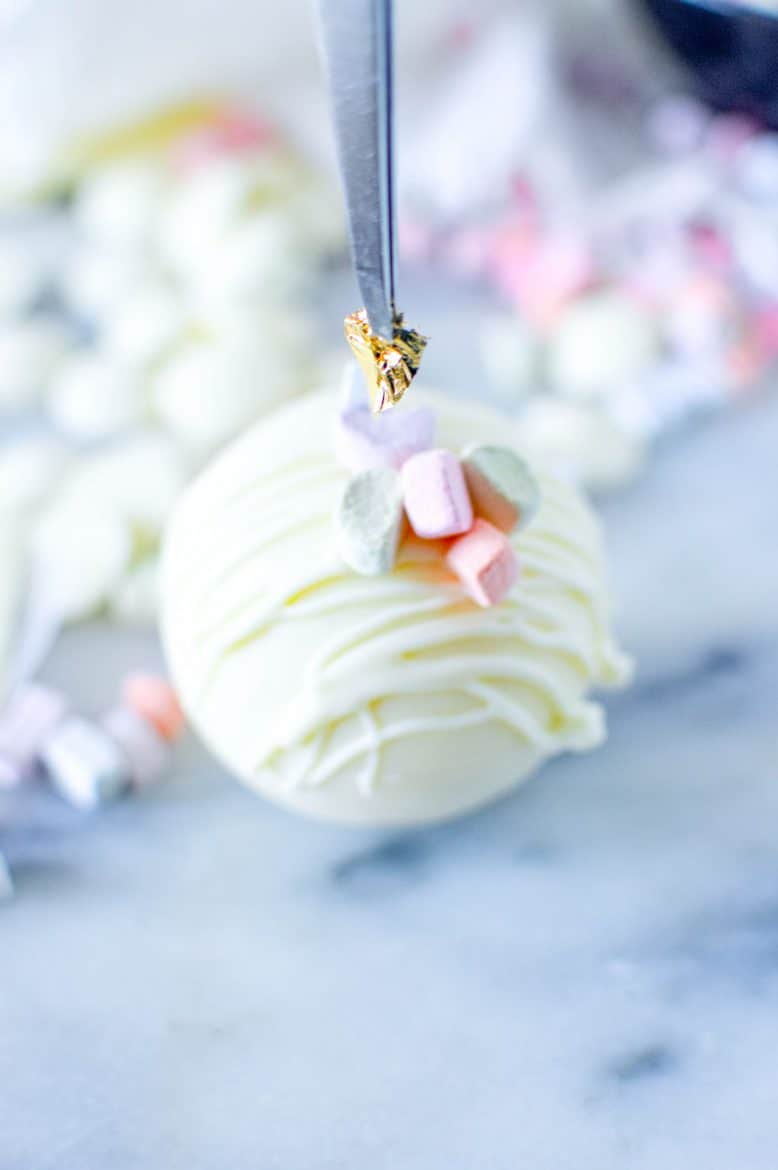
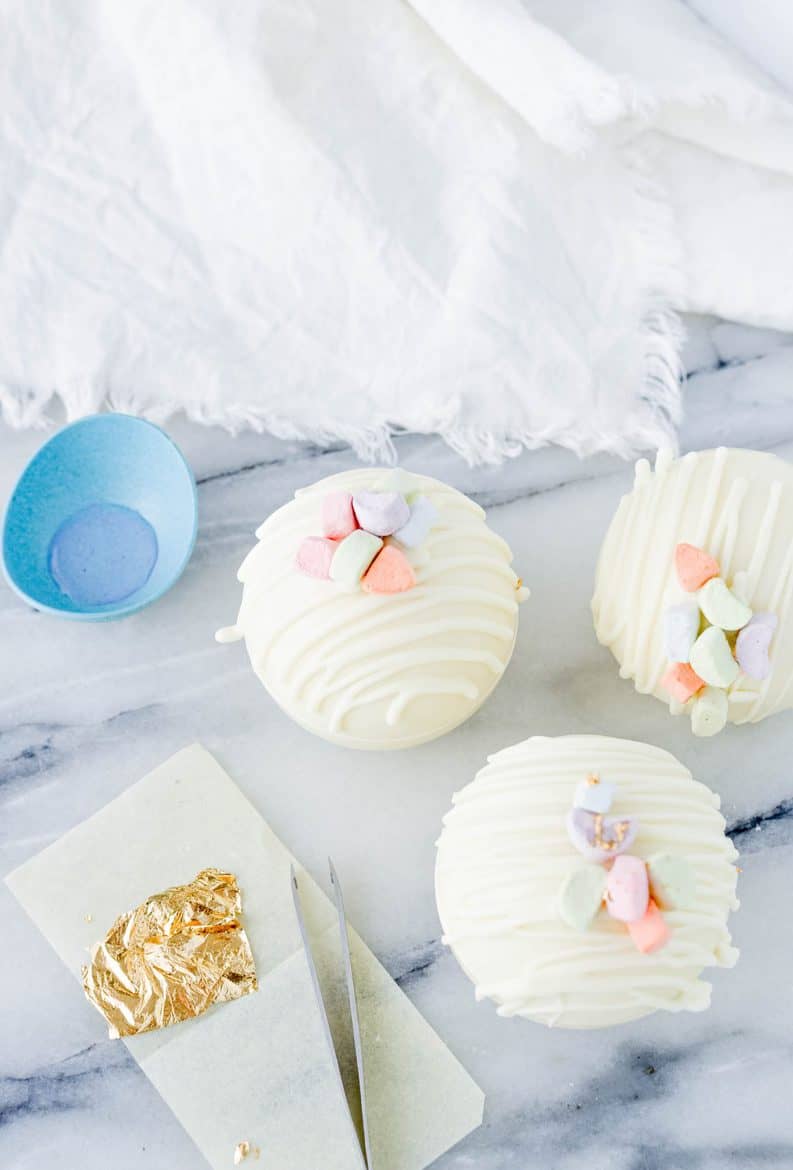
To add the edible gold leaf you’ll want to carefully use a pair of clean tweezers, food safe paint brushes, a pastry brush or something else that you’re able to do fine detail work with.
Add a few tiny drops of water to the areas you would like to add the gold leaf to, this will be what helps keep the gold in place otherwise it will blow off as soon as the bombs are moved.
Be careful not to add too much moisture to the marshmallows. Because they are dehydrated they would start to dissolve.
Carefully pull a small piece of the gold leaf off the sheet and use the tweezers or paint brushes to set it in place. This exact gold leaf held up perfectly fine at room temp, the fridge and freezer and going back and forth a bunch between them.
DIY Hot Chocolate Bombs: Pot of Gold White Chocolate Bomb Recipe
Equipment
- Silicone mold
- Piping Bags
Ingredients
- 1 cup Quality melting white chocolate wafers divided
- 1 package Mini dehydrated marshmallows about 1.5 tablespoons per ball plus more for the top
- EDIBLE gold leaf optional
Instructions
- Melt the chocolate according to package directions.
- Start with a clean and dry silicone mold on a tray or plate to help keep level when moving it.
- Pour the chocolate into each well and use a spoon or spatula to evenly spread the white chocolate right up to the edges.
- Place the tray in the freezer for about 5-10 minutes.
- Remove from the freezer and add a second layer of chocolate anywhere that seems a bit thin, especially around the top edges of the circle, you need this part to be just thick enough that it won’t chip off when removed from the mold.
- Return to the freezer for 5 more minutes.
- Remove the circles from the mold and set onto the chilled tray from the freezer. Then gently melt the edges of the circles on a hot plate so you’ll have a smoother seam between the two halves. Repeat with the other 5 circles.
- Add the marshmallows to half of the cups, try to add enough for it to be slightly mounded up but not so many that it will make it hard to top with the second cup and get a clean seal.
- Heat the edges of the empty cups again, one at a time, and set onto one of the filled cups.
- When all of the bombs are filled and sealed together you can melt the chocolate to drizzle on top. I used the same chocolate that was used for the cups, make sure your chocolate has a little bit of cocoa butter, this will help with a smooth drizzle.
- Melt the chocolate and drizzle over the tops and then immediately add the marshmallows.
- Set the finished bombs back in the fridge or freezer for a few minutes to help the chocolate drizzle harden. I set the bombs back into the mold so they wouldn’t roll around.