There is something to be said about giving a thoughtful gift that you made yourself. Something that can’t be bought in a store. Something that no one else will give. Being a shutterbug, I especially love gifts that include photos, memories captured that nowadays, are so rarely displayed in non-digital form. For the second portion of my partnership with CVS Photo (check out the DIY Holiday Decor Ideas I came up with!), I was asked to create some photo centric sentimental gifts, a task I was more than happy to take on! I’ve had quite a few floating around in my head for months and am excited that they have finally come to fruition. These last minute DIY gifts are not only super easy and budget friendly, but they can be used for any occasion. I also really love that they are easy to modify so the recipient can change out the picture(s) to meet the current season or holiday.
Beach Photo Frame
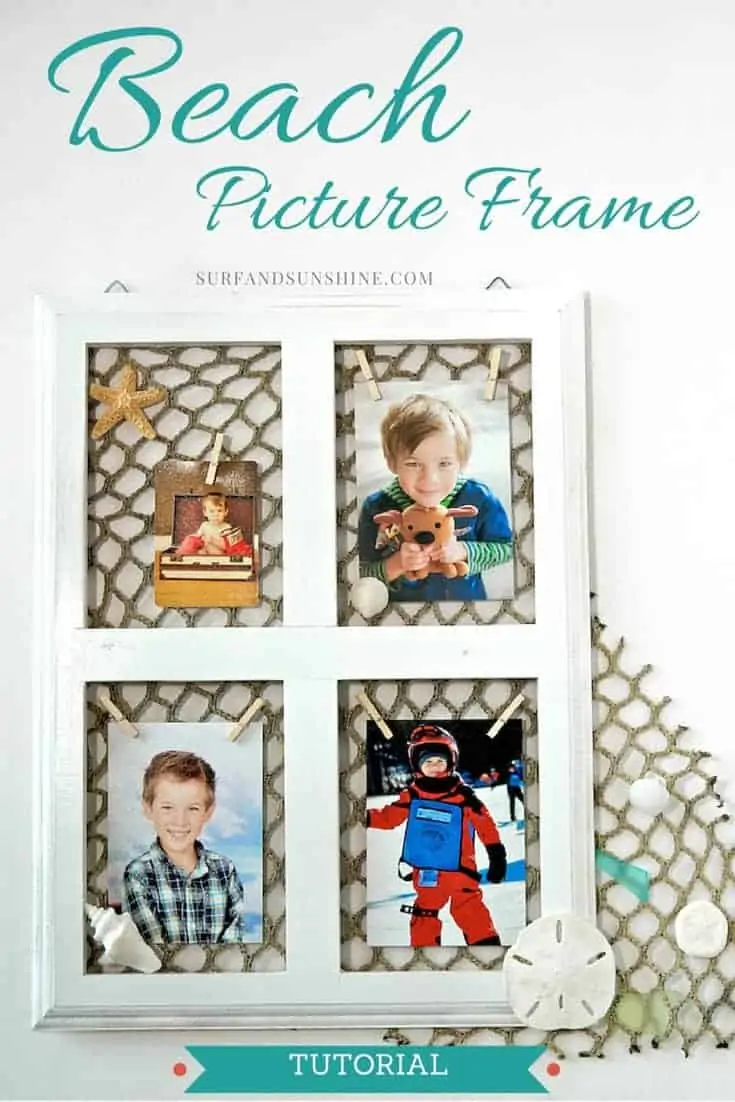
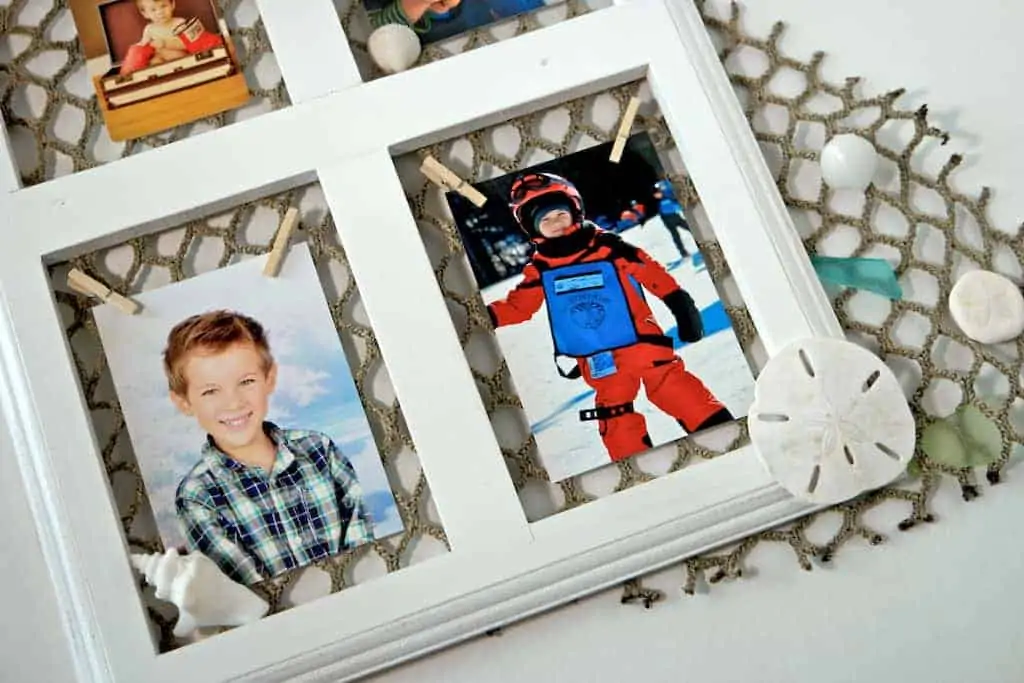
Ok, so I can admit that a coastal decor photo frame has been done and done a million times already, but I can honestly say I’ve never seen one like this (surprisingly). While using fishing net as a sort of garnish on or around beach themed photos is nothing new, using it within the frame as a canvas is! I literally just sort of stumbled on this one. I’ve always wanted to use an old window frame as a photo canvas so when I came across this unpainted one, I grabbed it instantly. Thing is, it didn’t come with any sort of backing. I initially grabbed some eyelets and twine thinking I could do a clothesline sort of frame (still a cool idea I think!), but when I passed by this fishing net, I knew exactly how to use it.
Materials Needed
Wooden window pane
Spray Paint
Sand paper
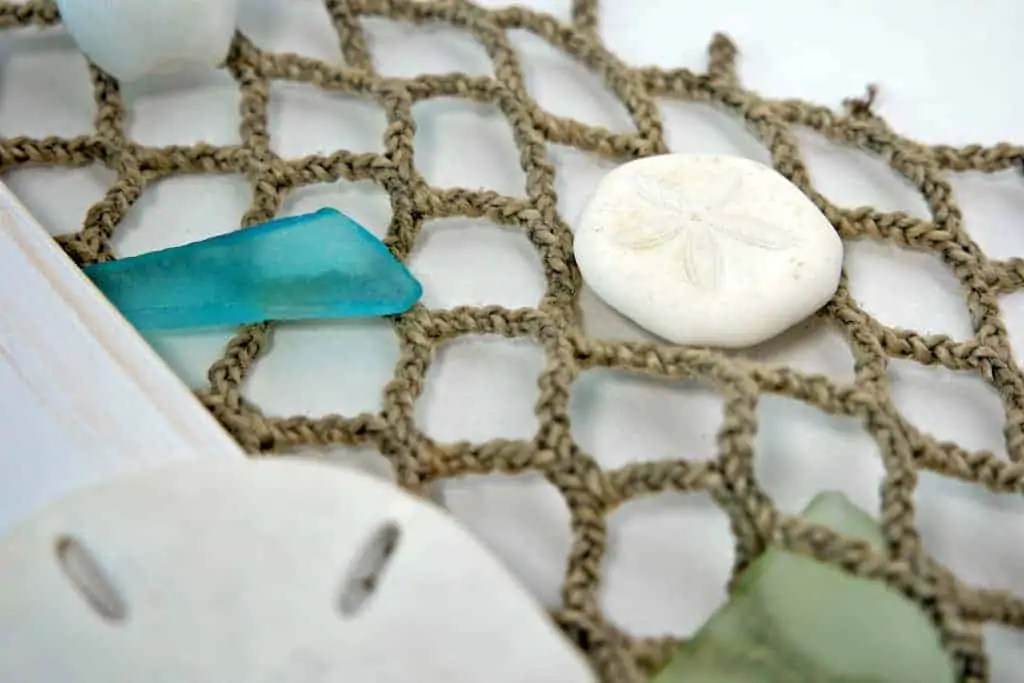
Decorative fish net (I used this one – note it comes in varying shapes and sizes, but it’s how I was able to get the extra to hang off side!)
Stapler + staples
Shells, sea glass and other beachy things
Hot glue gun + glue
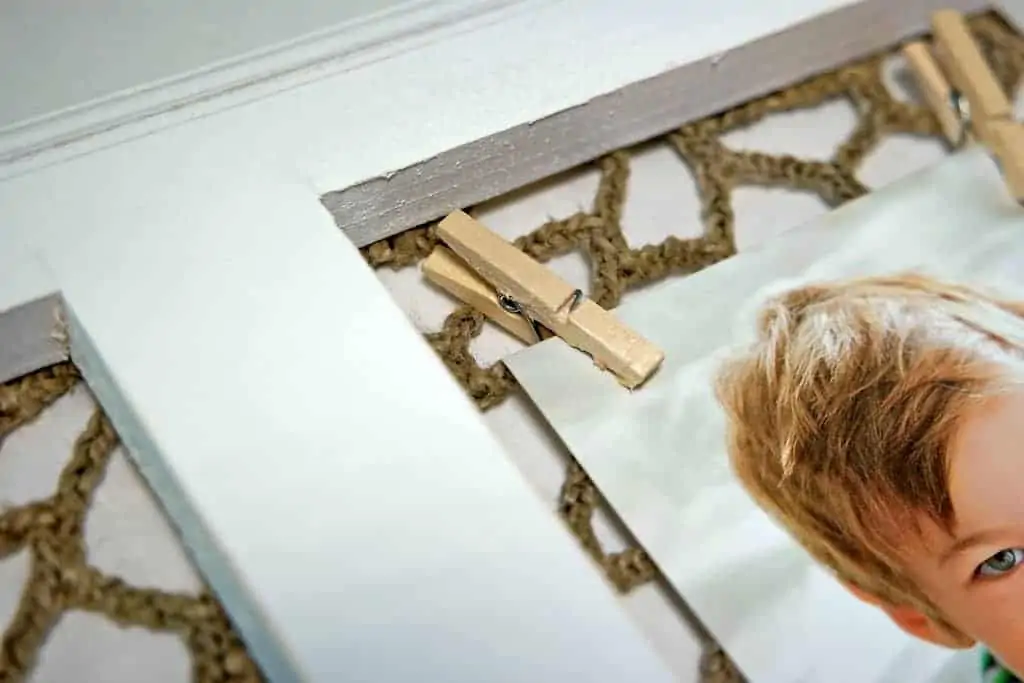
Miniature clothespins
photo prints (you may need Photoshop and some scissors/craft cutter)
Directions
If you purchased an unpainted, unfinished wooden window pane like I did, you’ll need to paint first. Obviously feel free to use any color you like. I prefer to use spray paint because it’s so quick and easy. To get a more distressed, beachy look I gave it a random sanding once it was completely dry.
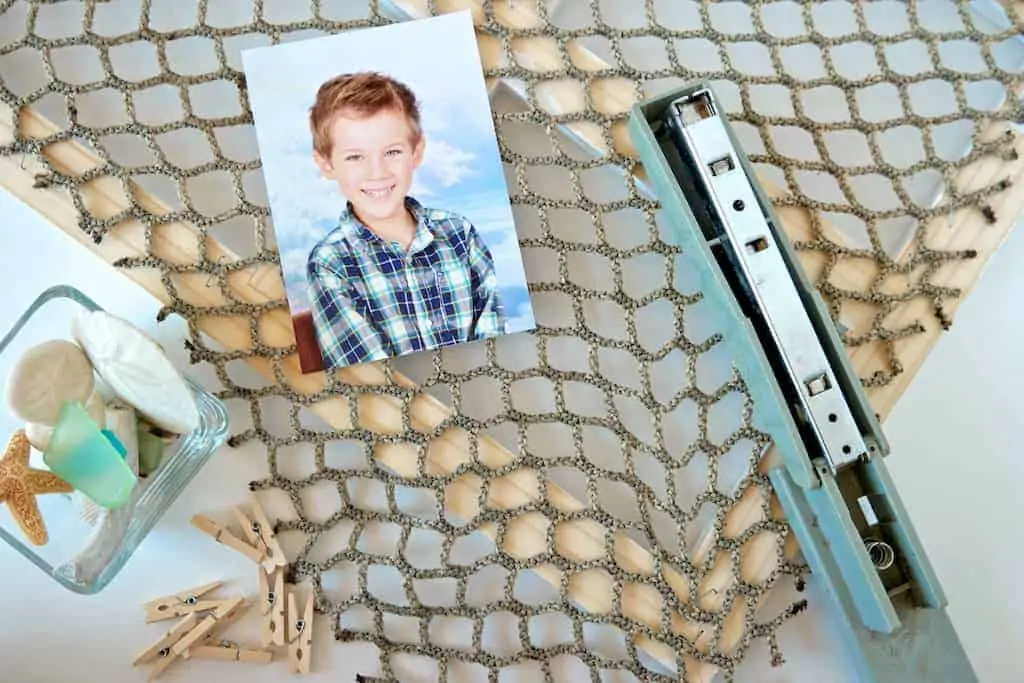
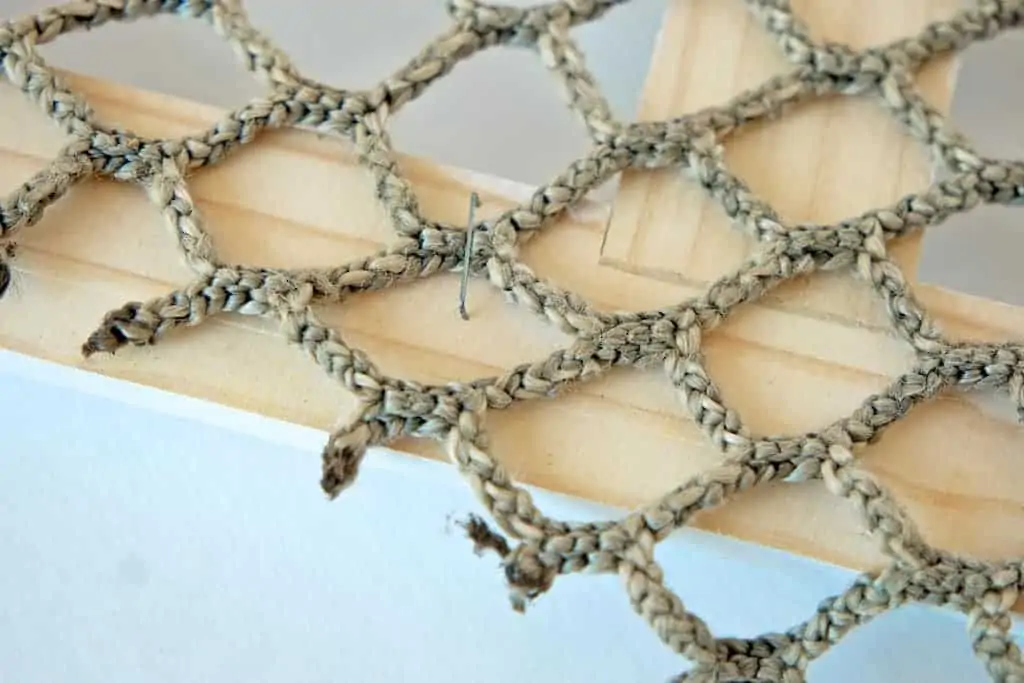
Turn it over and stretch out the decorative fish net across the back. Staple in place by opening stapler and pressing straight down – if you are off to the side at all, it won’t work.
Use small dabs of hot glue to place shells and beach items on the frame and on the net where desired.
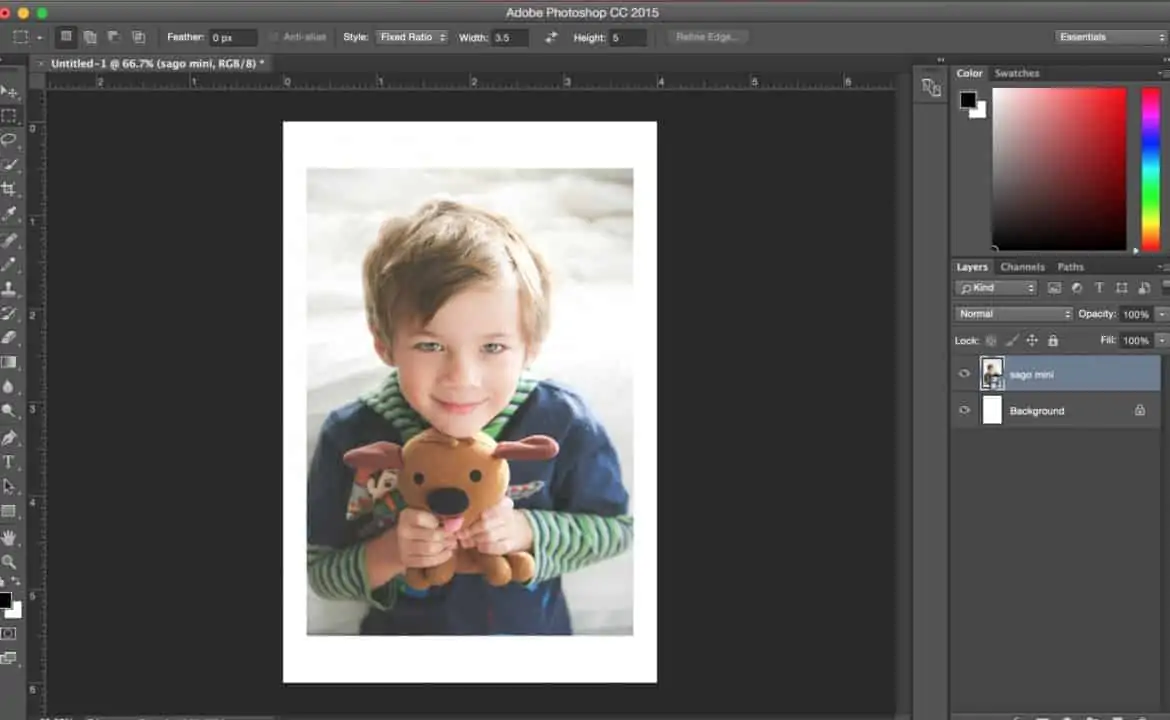
Since I didn’t want the photo to take up the entire opening space, I decided to make them 3.5″ x 5″ in size (plus a small wallet). Really, you can make them any shape or size you like. Since I’m using www.cvs.com/photo to print and pick up my photos same day, I needed to do a quick photoshop edit before sending the files over to be printed. You see, 3.5″ x 5″ is actually fairly difficult to find nowadays as the standard has moved up to 4″ x 6″. It’s an easy fix though!
Shutter Photo Frame
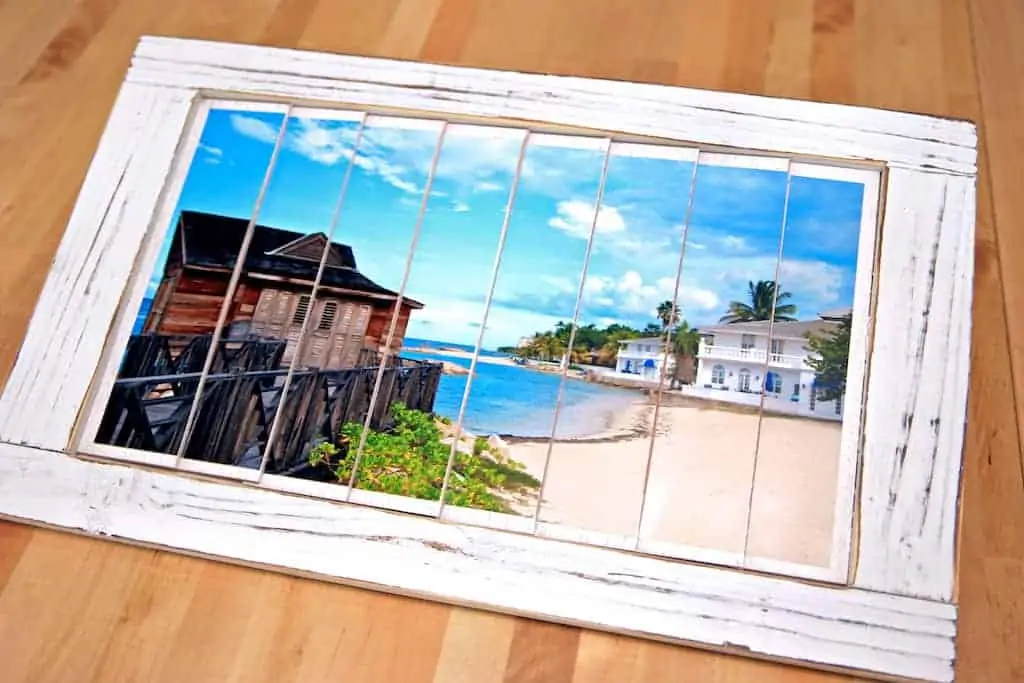
Yet another project that just sort of came to me, when I saw this distressed shutter in the store I was immediately drawn to it. While you could totally use two of them to flank a photo of a beautiful view (<— see there’s another quick and easy project for ya!), I decided to use it as my canvas instead. I’ve always wanted to start playing with the concept of split display photography and this project is so easy that I couldn’t pass it up.
Materials Needed
Photoshop
JPG files of the photos you’d like to use
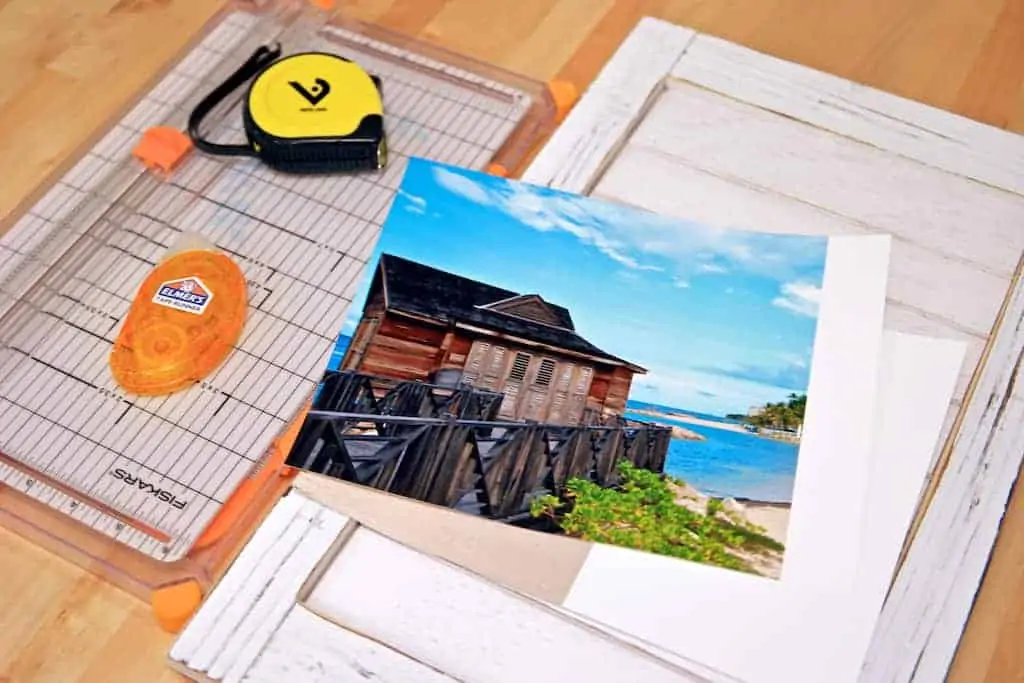
Craft Paper Trimmer or Scissors & ruler
Double sided sticky tape (I used Elmer’s Tape Runner)
Tape measure
Shutter (I used this Whitewashed Wood Plaque)
Directions
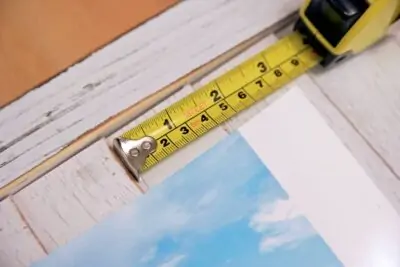
First you will need to figure out how big you need your photo. If it needs to be bigger than 8×10 (I needed mine to be 8×14), then use Photoshop to slice and tile the larger image into separate pages. I won’t go into too much detail here since it is likely that your shutter size will vary from mine, but in a nutshell, create a document that is the size of the area you want to cover. Place the photo you want to use and then use the rectangular marquee tool and layers via copy to slice and dice into printable sizes (4×6, 5×7 or 8×10), saving each section as an individual .jpg file to print at www.cvs.com/photo.
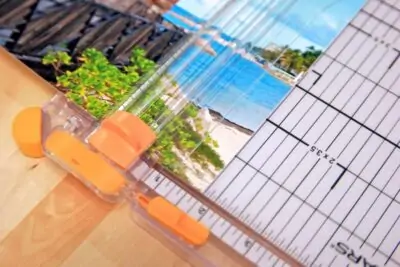
Once you have your photos printed, you’ll need to simply measure each slat and cut the photo accordingly.
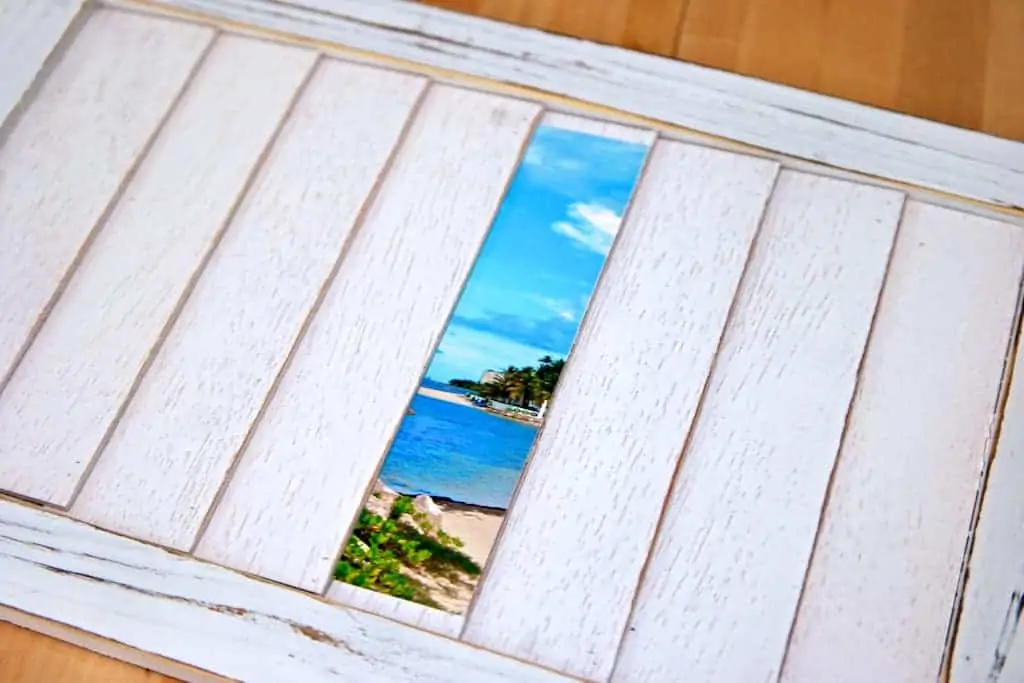
Apply the double sided stick tape and then affix to slat. I used this method because I like to be able to change my mind on a whim, so non-permanence is always attractive to me and the photo can easily be removed and replaced if desired.
And that’s it! While I adore the finished project, I think next time I will play with leaving some more negative space on each slat (meaning make the photo slice smaller so more of the shutter shows through).
This post was produced for CVS Photo. All ideas and opinions remain my own.
I love this DIY photo frame – and this post just reminded me that I need to make a photoframe for my friends for the holidays :D
this is such a genius idea and perfect for any beach home or a home that is themed beachy. Your instructions make it seem so simple to carry through
I am more of an admirer of crafty projects that a doer of crafty projects. I do really love you shutter project and you are right a bit more white space would be a good idea. So very pretty.
These are so cool! We are trying to keep the gifts to a minimum this year so the grandparents are getting handmade gifts! These would be perfect!
These are awesome! I really love the shutter photo frame! It is gorgeous!